Prevu3D supports the following scanners from Emesent:
Emesent software for processing:
Data Processing
Export Settings
In order to process Emesent dataset inside Prevu3D, we require the following files from your Output folder:
Pointcloud (either LAS/LAZ or E57)
Trajectory file (XYZ)
[Optional] Pictures
[Optional] Pictures information file (frames_prevu3d.csv)
Step 1: Pointcloud Processing & Trajectory
You will require to launch a Processing job on Aura to prepare your pointcloud. Once the processing is completed you may open the folder containing all the processed files.
You should find the pointcloud & the trajectory file. You can upload those 2 files on Prevu3D.
Info
In order to improve the visual result, we recommend to do the steps below in order to get a colorized result and photosphere.
Step 2: Colorization (Recommended)
Emesent’s colorization feature allows you to augment your point clouds with true color, providing additional context for visualization and analysis. Colorization works by merging Hovermap’s LiDAR scan data with video recorded by a GoPro that has been mounted to Hovermap.
Check that you have everything necessary to create a colorized point cloud:
Your Hovermap scan folder (containing raw data from Hovermap).
A GoPro video file (an MP4 file contained within the scan folder).
You will be able to configure your New Scan Job and select the Colorize workflow.
Once the processing is completed you can open the folder containing your processed files and should find the pointcloud with “_colourised” in its name.
You will be able to upload this colorized version instead of the one from Step 1.
Step 3: Pictures & Pictures Informations (Optional)
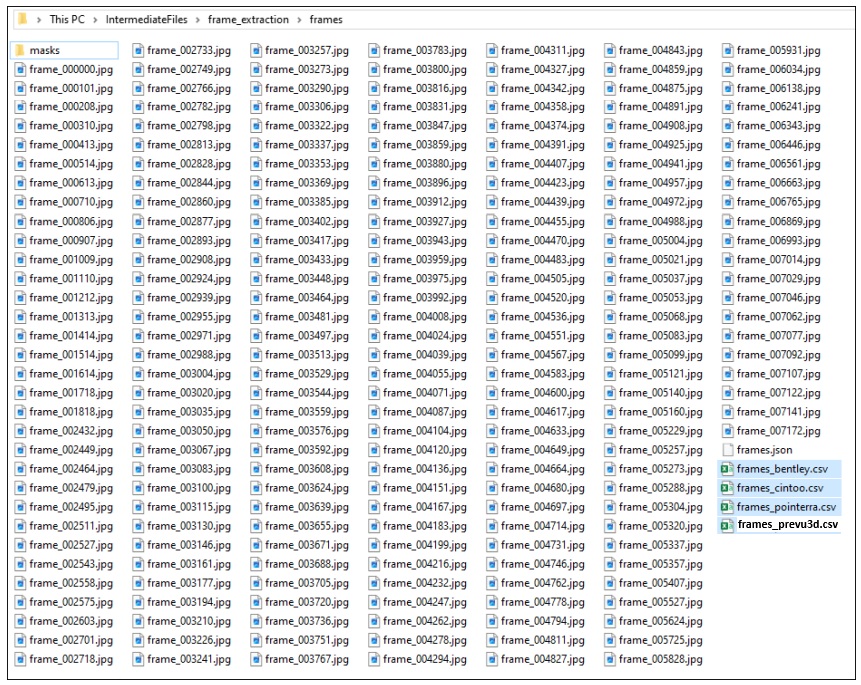
The image frames used during colorization can be exported with the colorized point cloud. You can find them in the Intermediate files > frame_extraction > frames folder.
You can upload all the jpg files with the frames_prevu3d.csv
