Export 2D
The application allows you to easily generate a 2D plan from a slice of the environment. You can export the generated plans as PNG/JPEG image or as AutoCAD DXF.
Generate a simple or a multiple layer plan
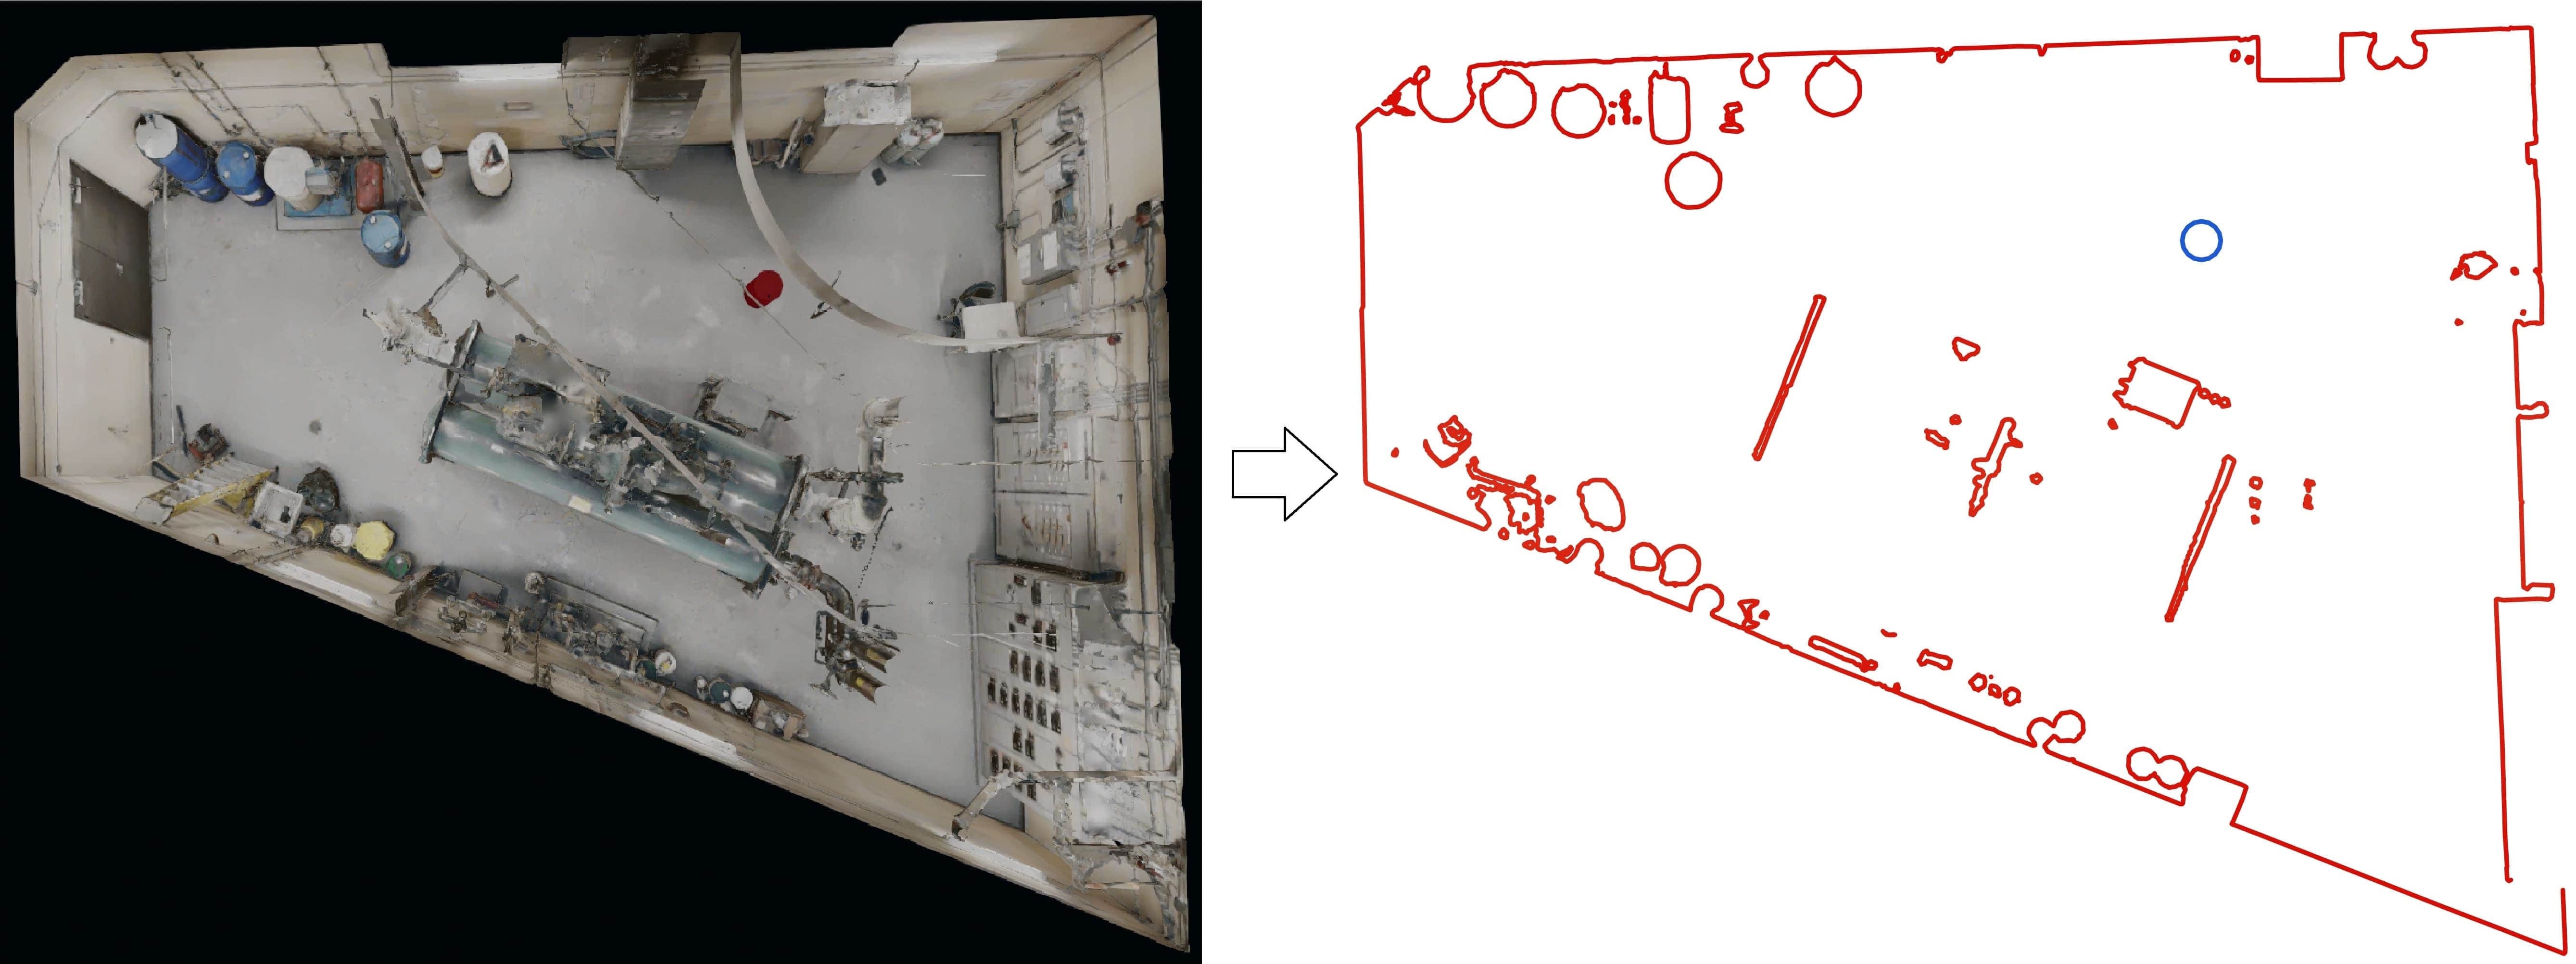
To generate a plan, proceed as follows :
- Select the floor plan tool in the toolbar
- Adjust the height of the slice you want to make a floor plan with
- Choose whether you want to include the 3D models and measures in the floor plan
- Click on save plan to export the plan as an image (PNG, JPEG) or as a DXF file (AutoCAD)
For more accuracy on your plan, you may also include multiple layers in the plan. After you check the "Multiple slice plan" checkbox :
- A double slider will appear for you to select the span where the layers will appear
- You may also change the plan density (number of layers in the span)
- For DXF plans, the environment and the 3D models are placed on a different layer
- For PNG/JPEG plans, the environment and the 3D models are shown in a different color
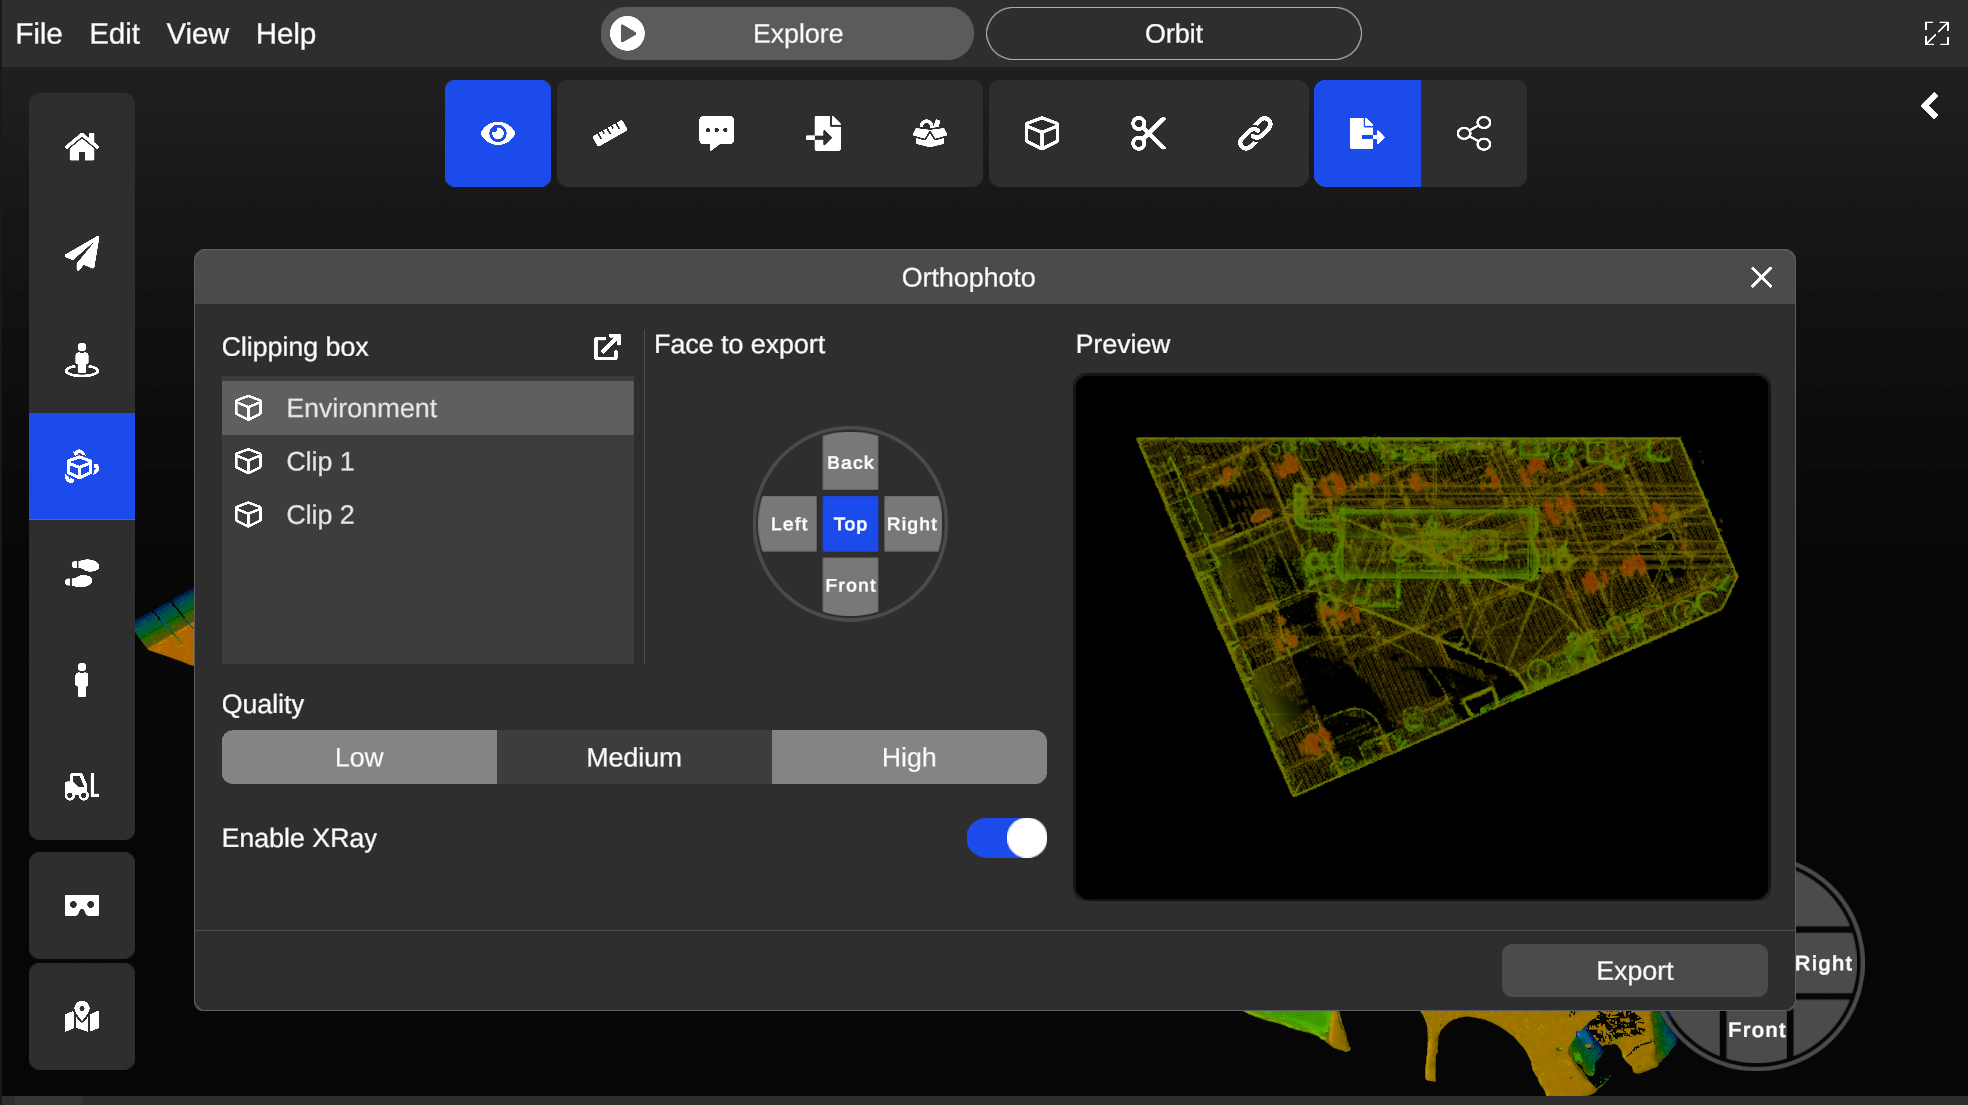
Generate an orthophoto
Using the Clipping box tool, you can generate orthophotos. Various settings are also available to adjust the detail levels and x-ray option. Moreover, you can easily select the face you would like to export as an orthophoto using the face selector.
Generate a X-Ray plan
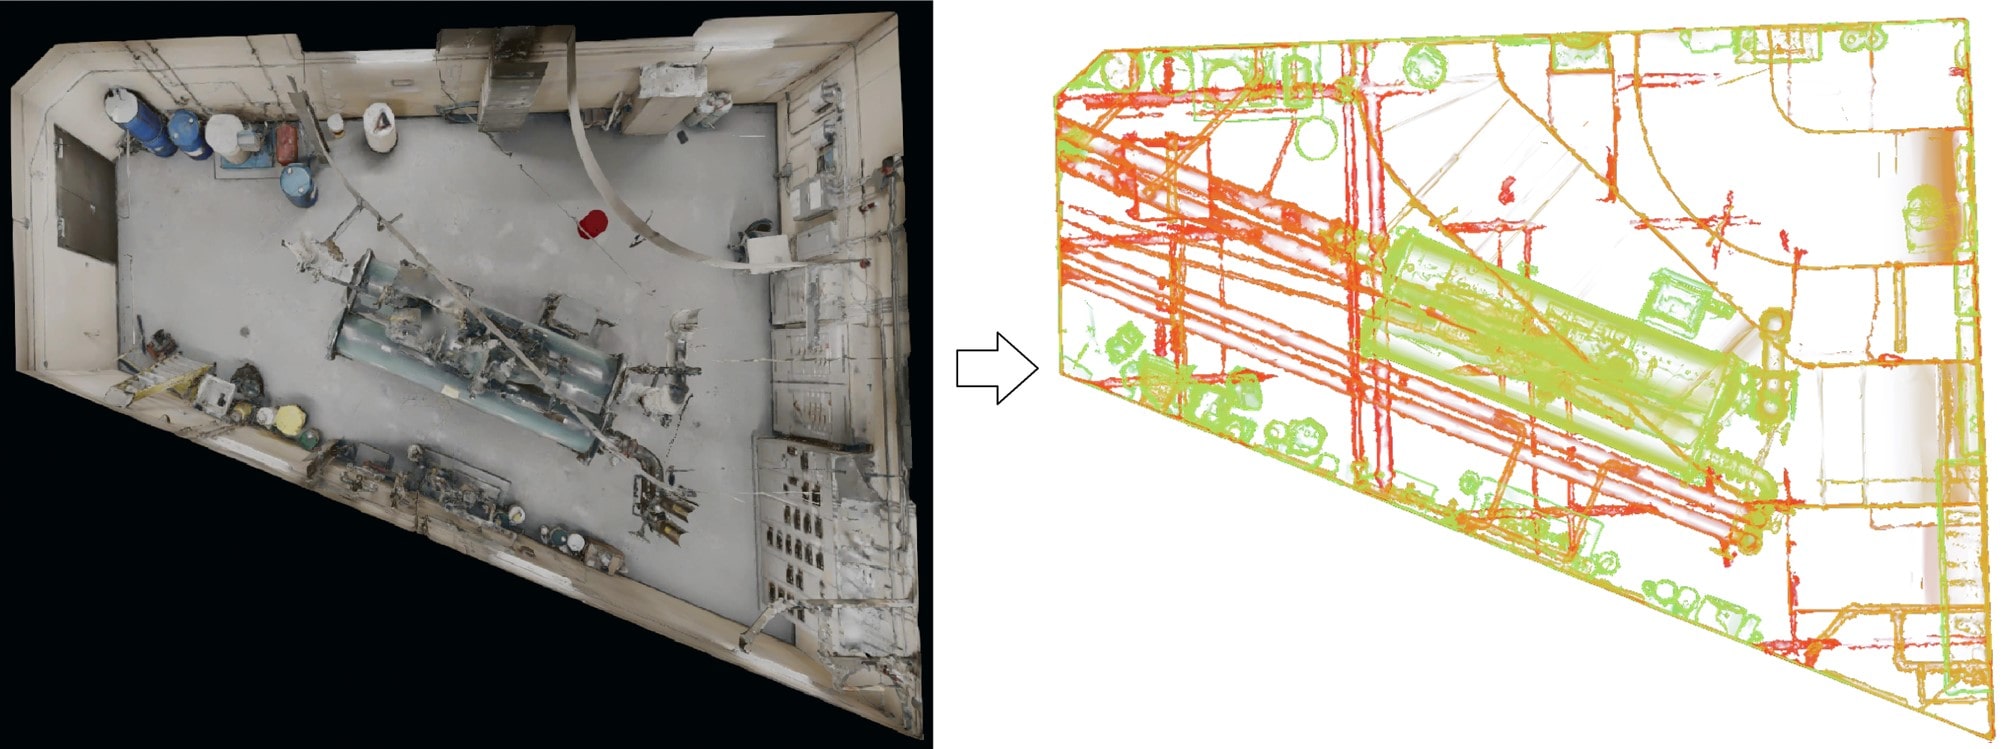
To generate a X-Ray plan, proceed as follows :
- Change your navigation mode to Top View
- Select the X-Ray feature in the Display settings
- You can modify the X-Ray plan by moving the clipping plane slider in the bottom right of the application
- When you're satisfied with the result, just take a transparent screenshot in the Presentation tool to save it on your computer as a PNG file
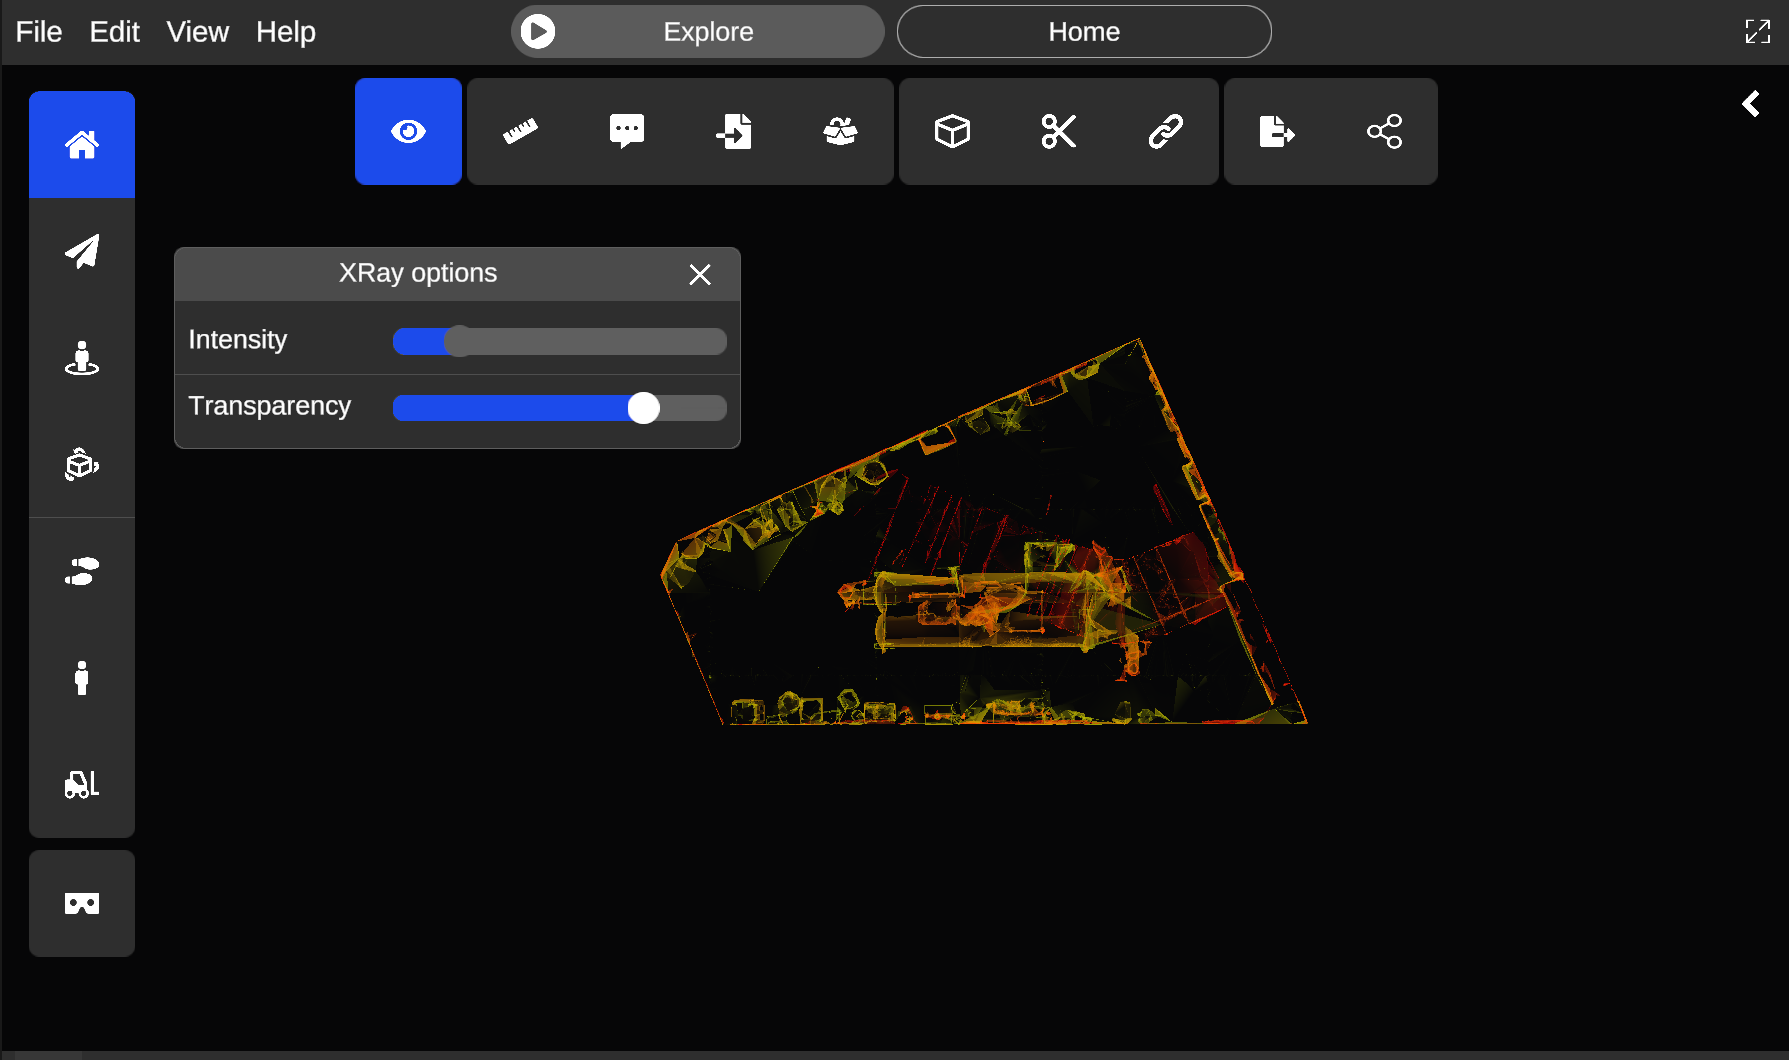
Once the X-Ray is active, a wheel icon will appear at the bottom of the X-Ray button. You may click on it to modify Intensity and Transparency settings.
Note that this feature only works in orthographic camera mode, disabling it will disable X-Ray as well.
Once you're done, you can disable the X-Ray feature by clicking on it again or by pressing Escape