Creating a Twin
Creating a Twin is the starting point for all visualization, annotation, and operational workflows within the platform.
Before You Begin
Section titled “Before You Begin”Each site can have only one Twin. Before you can create a Twin, you must first create a Site if one does not already exist.
Once your site is created and opened, you’ll land on its Home page.
Launch the Twin Workflow
Section titled “Launch the Twin Workflow”On the Home page, you’ll see a prominent RealityTwin banner. Clicking this banner for the first time will initiate the Twin creation process.
Here’s what happens next:
-
You are automatically redirected into the RealityComposer Workspace.
-
This workspace allows you to select and align the reality capture layers you want to include in your Twin.
Upload Your Reality Capture Data
Section titled “Upload Your Reality Capture Data”In order to build a Twin, your site must have reality capture data (e.g., 3D scans, photogrammetry meshes, etc.) available.
If no data has been uploaded yet, you will see prompts and buttons allowing you to upload your files. This will take you into the Upload workflows.
Finalizing Your Twin
Section titled “Finalizing Your Twin”Once your layers are selected and aligned in the Composer workspace, your Twin is automatically assembled.
From there, you can:
-
Switch to the Twin Workspace to explore and interact with your 3D twin
-
Start tagging and organizing assets
-
Share the Twin with collaborators
Resetting a Twin
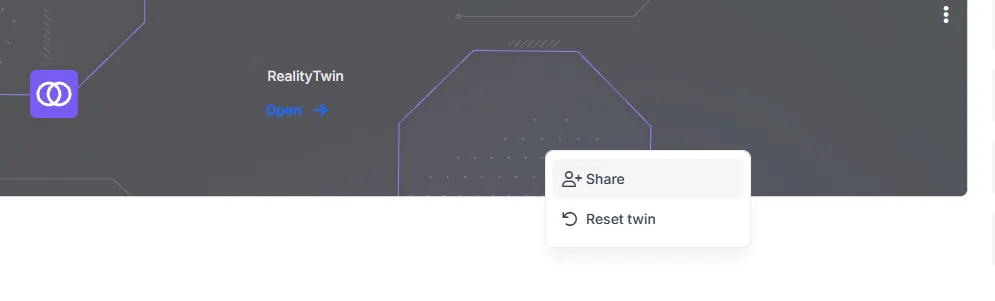
Section titled “Resetting a Twin”Resetting a Twin permanently clears everything composed into it, along with any drafts, while keeping the site itself and the RealityPlan Projects that belong to it. The data bundles that went into the composition are freed, so they can be composed again.
Open the site, then the ⋮ menu on its RealityTwin card, and select Reset twin. You are asked to retype the site name before the reset goes through.