Uploading and Managing Assets
Upload new 3D models to the Asset Library and manage their status, details, and availability across your organization.
Uploading Assets
Section titled “Uploading Assets”To upload one or more assets:
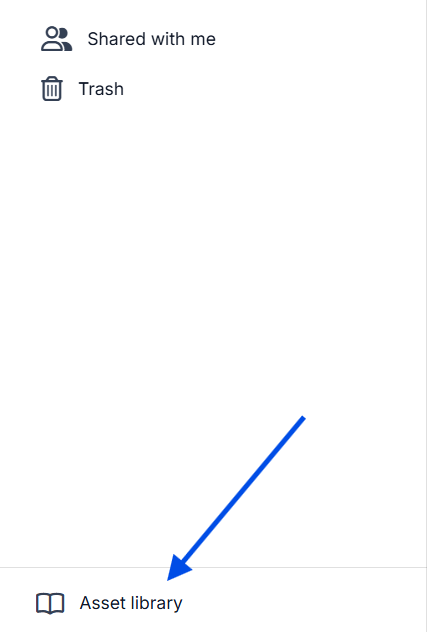
- Open Asset Library in RealityPlatform using the button at the bottom left of the page.
-
Click Upload Asset to open the New assets dialog.
-
Add your models in one of two ways:
-
Click to upload or drag and drop one or several files at once.
-
Use Import folder to bring in an entire folder of assets in a single step.
-

By default, you can upload up to 30 files per upload. A higher upload limit (more files per upload) is available as a Beta feature on demand — contact Prevu3D to enable it for your organization.
- Confirm the upload.
After uploading, your assets will appear in the Asset Library while they are processed.
Assigning an Asset Type on Upload
Section titled “Assigning an Asset Type on Upload”When files are added to the New assets dialog, each model has an optional Asset type field. Asset types help classify your models (for example, Machine) and are used by integrations. Assigning a type is not mandatory.

-
Set an Asset type individually on any row, or
-
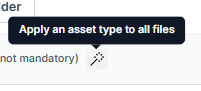
Use the Apply an asset type to all files wand to assign the same asset type to every file in the upload at once.
To learn more about how asset types are defined, see Asset Types.
Asset Processing Status
Section titled “Asset Processing Status”Each asset displays a status indicating its availability.
| Status | Description |
|---|---|
| Uploading | The file is currently being uploaded |
| Processing | The asset is being prepared for use |
| Ready | The asset is available to use |
| Failed | Processing failed and the asset cannot be used |
Assets can only be used & viewed once their status is Ready.
Viewing Asset Details
Section titled “Viewing Asset Details”Upon entering the Asset Library, you will see a list of all the assets that you have access to, where you can view:
-
Asset name
-
File type
-
Upload date
-
Creator
-
Processing status
From the details page, you can also preview the asset or edit its settings.
Metadata Actions
Section titled “Metadata Actions”-
Use the options menu on any metadata field to copy its value to the clipboard.
-
URLs in integration fields and metadata sections are automatically parsed and displayed as clickable links.
Searching for Assets
Section titled “Searching for Assets”Use the search bar to find assets by name.
If no results match your query, the interface will display No assets found.
Sorting Assets
Section titled “Sorting Assets”Assets can be sorted by:
-
Upload date
-
Creator name
-
Asset name
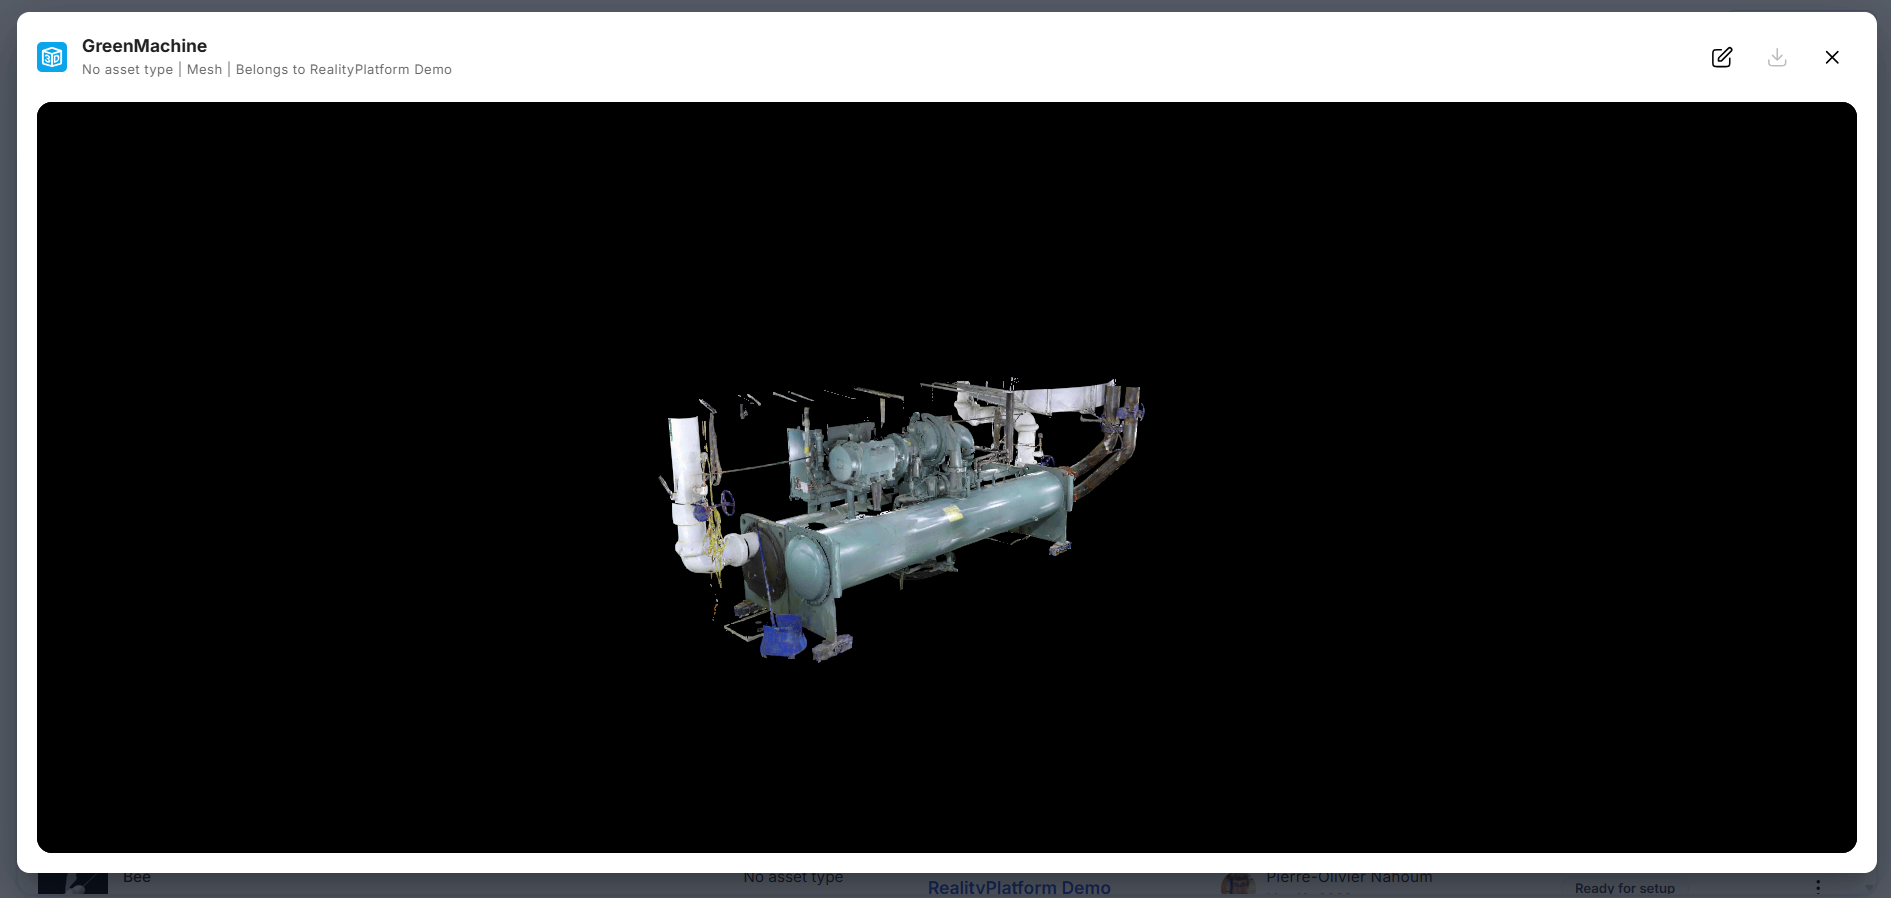
Previewing an Asset
Section titled “Previewing an Asset”Assets can be previewed using the built-in 3D viewer, which allows you to:
-
Orbit around the model
-
Zoom in and out
-
Pan the view
-
Recenter using the home button
-
Inspect the asset before using it in a layout
For assets that contain animations (e.g., GLB files), the viewer displays a playback UI that lets you select and play available animations directly in the preview.
Promoting an Asset
Section titled “Promoting an Asset”Assets can be promoted to a higher organizational level to make them available to a broader scope. Promotion is done from the Asset Library management page using the options menu on the asset.
Available promotion paths:
-
Project → Site – Makes the asset available across the site
-
Project → Global – Makes the asset available to the entire organization
-
Site → Global – Makes the asset available to the entire organization
Downloading the Original File
Section titled “Downloading the Original File”Authorized users can download the original uploaded file from the asset details page.
-
Open the asset details or the overflow menu.
-
Click Download original file.
Only the original file is downloadable. Converted versions are not currently available.