User Guide
RealityConnect for Plant Simulation streams reality-capture data into Tecnomatix Plant Simulation and provides an interface for importing reality-capture assets into a model.
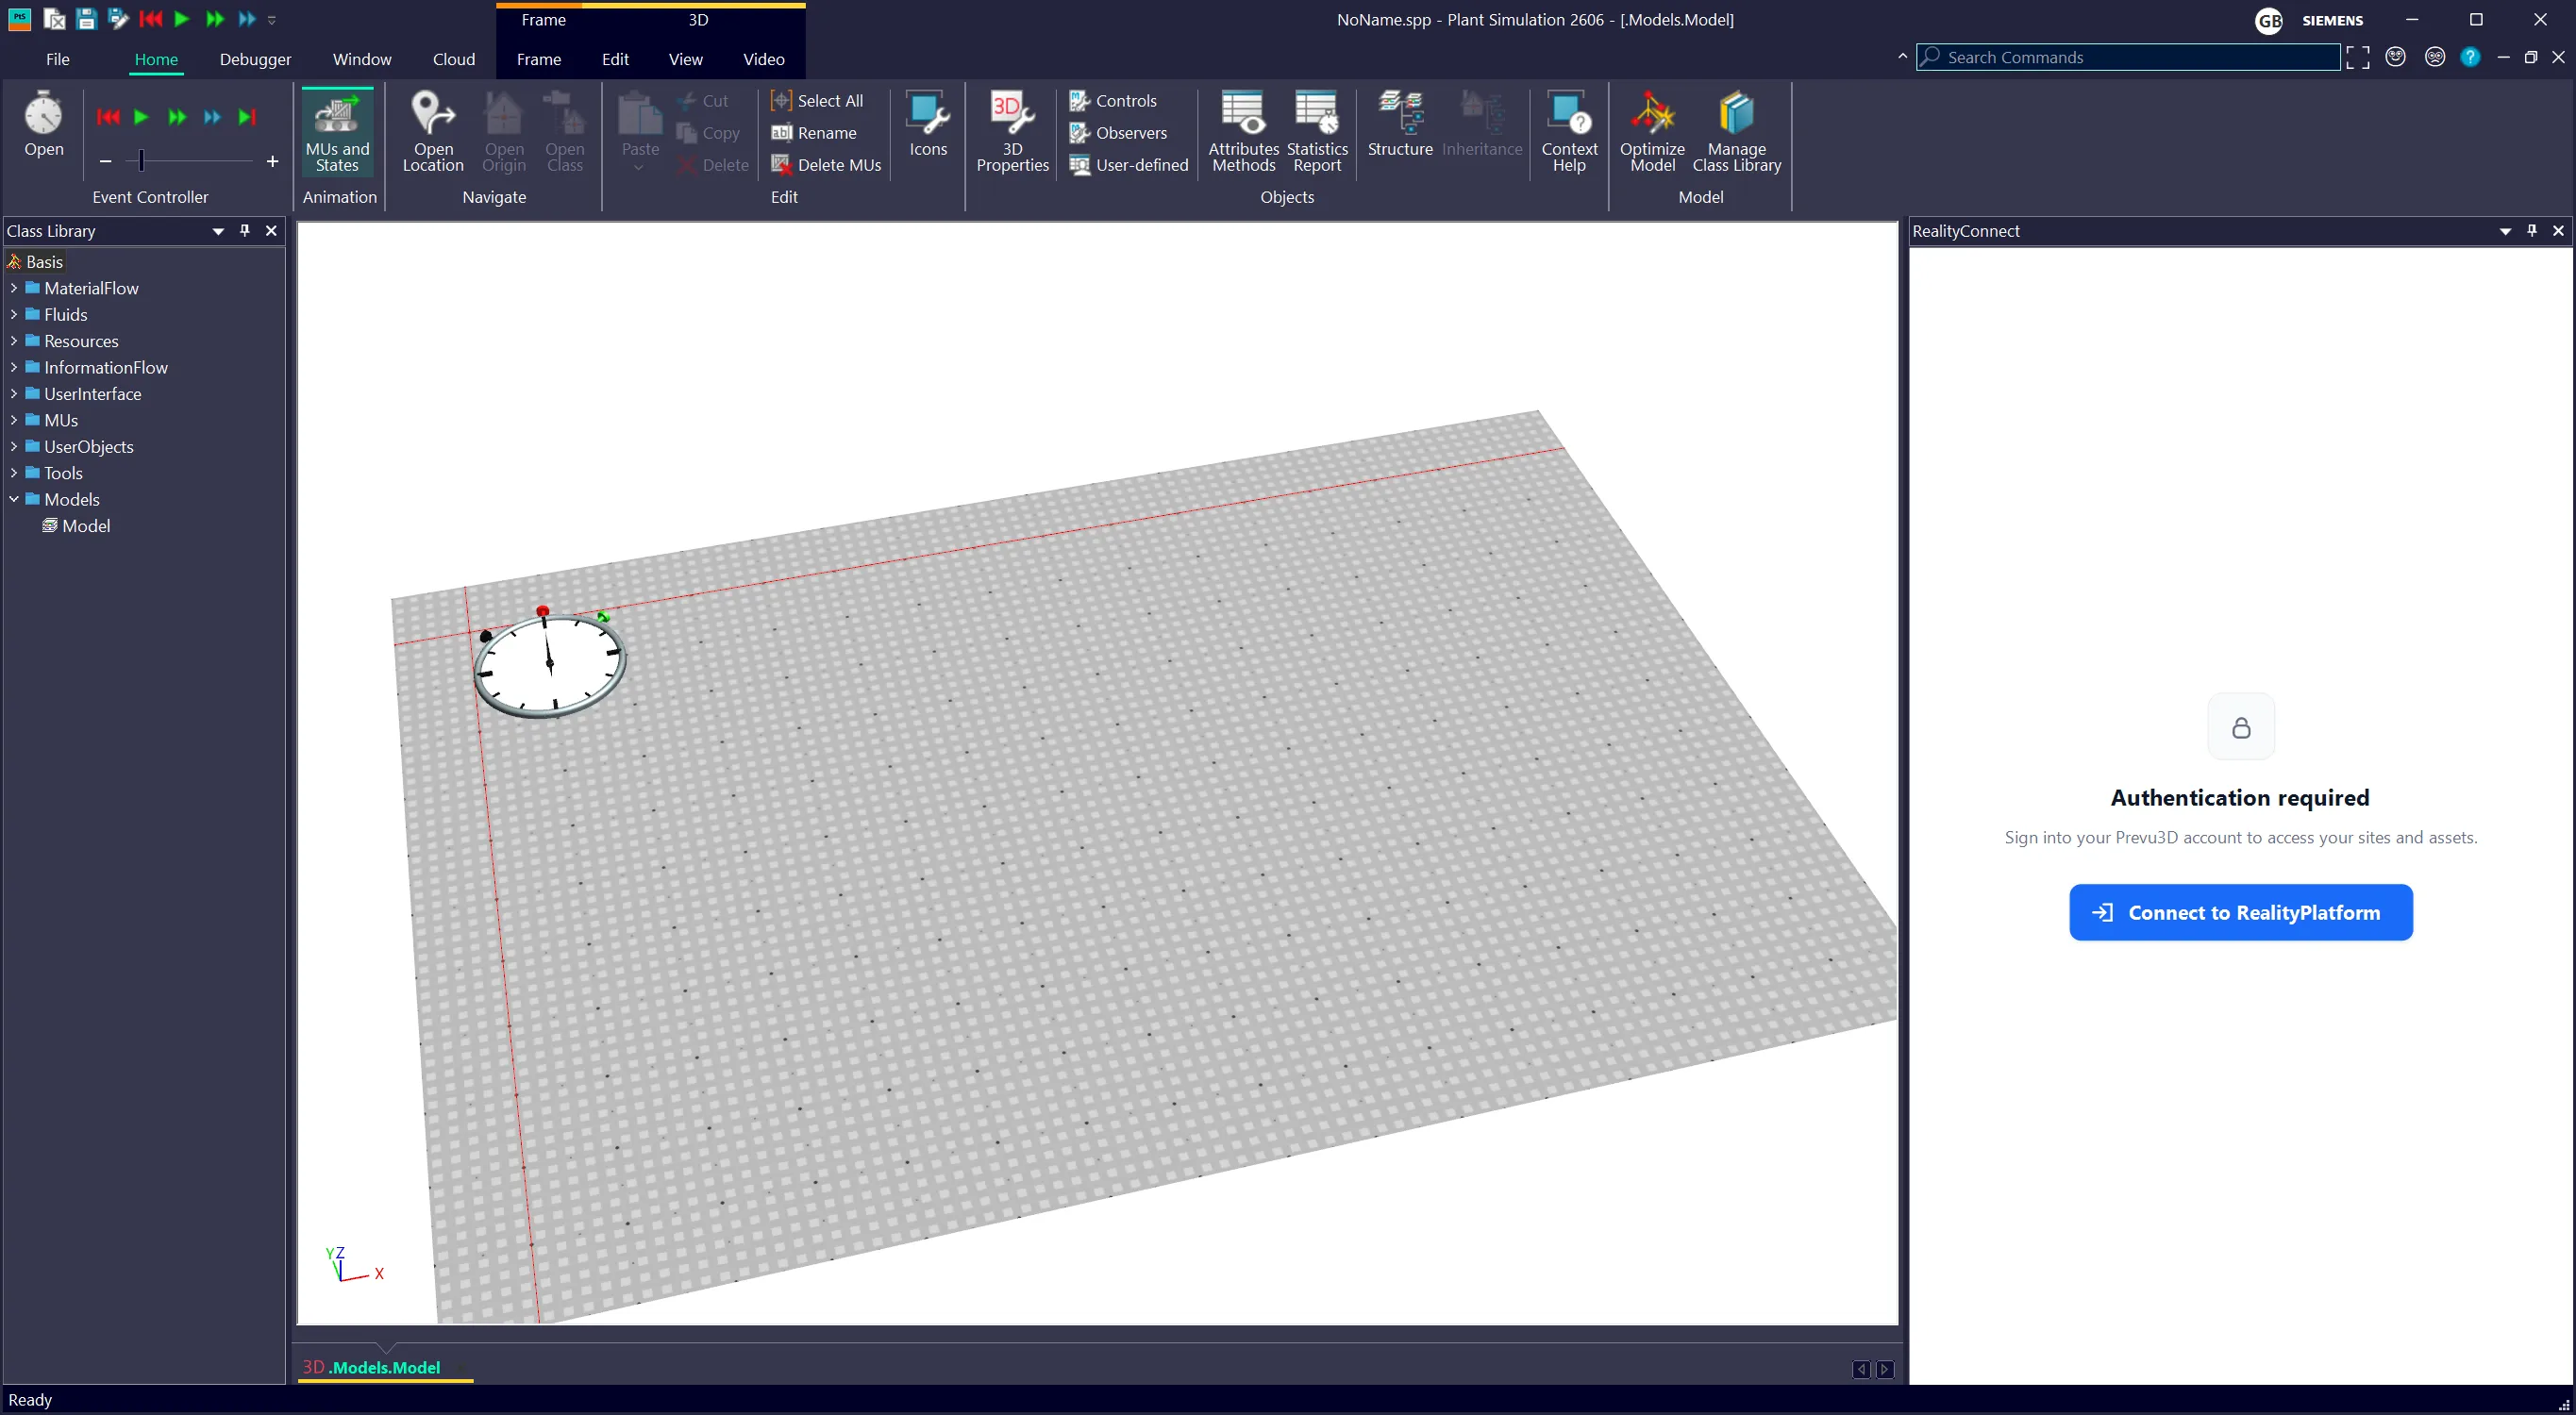
The plugin runs inside Plant Simulation as a docked panel. Once it is open, everything happens in that panel — there is no separate window to manage.
Opening the plugin
Section titled “Opening the plugin”-
Open (or create) a model in Plant Simulation.
-
Open the model’s 3D view and make it the active window. The plugin needs an active 3D view to attach to.
-
On the 3D view’s ribbon, on the Edit tab, click RealityConnect.
The RealityConnect panel docks on the right with four tabs: Sites, Assets, Settings, and About.
Accessing your data
Section titled “Accessing your data”To access your data, you must first sign in to Prevu3D.
-
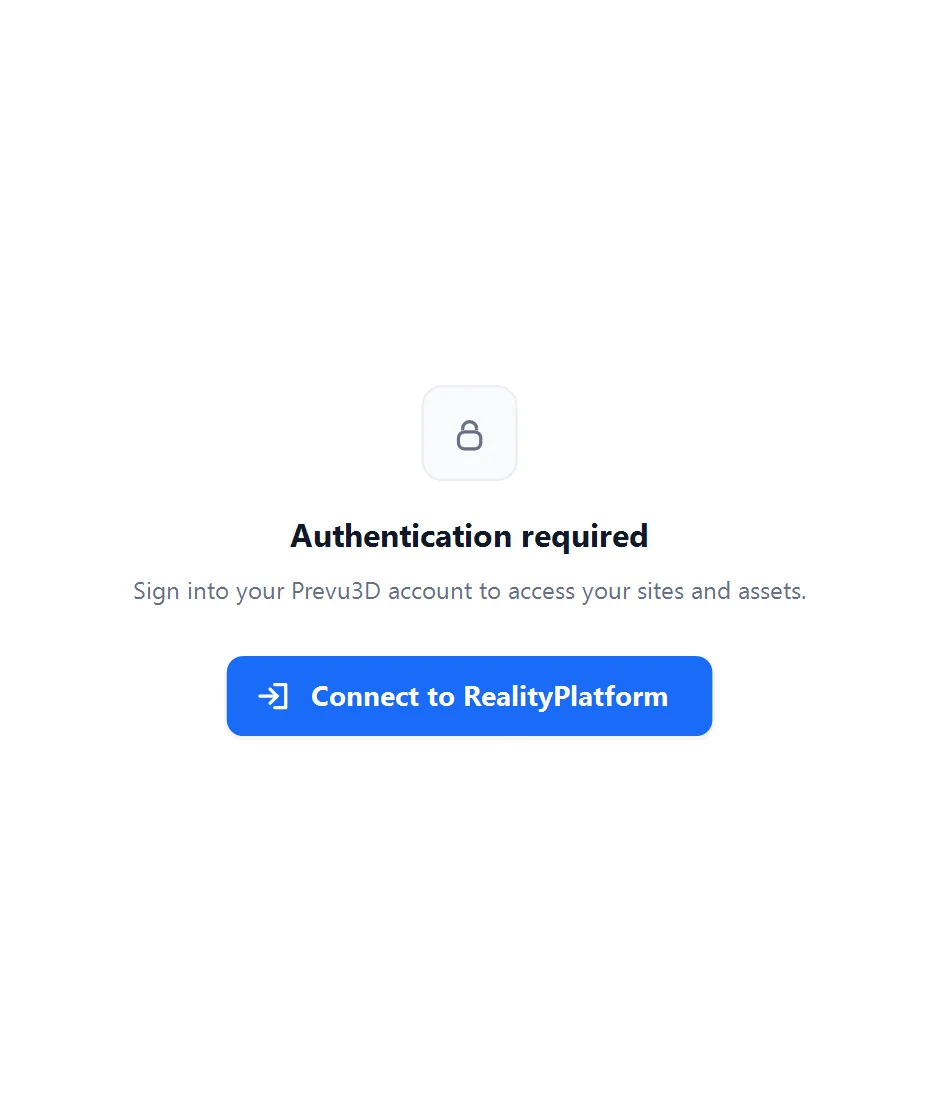
In the RealityConnect panel, on the Sites tab, click Connect to RealityPlatform.
-
A web browser opens and redirects you to the Prevu3D authentication page.
- If you have access to multiple organizations, select one on this page. To change organizations later, sign out, then sign in and select a different organization.
-
Back in Plant Simulation, the Sites tab displays the sites from your organization.
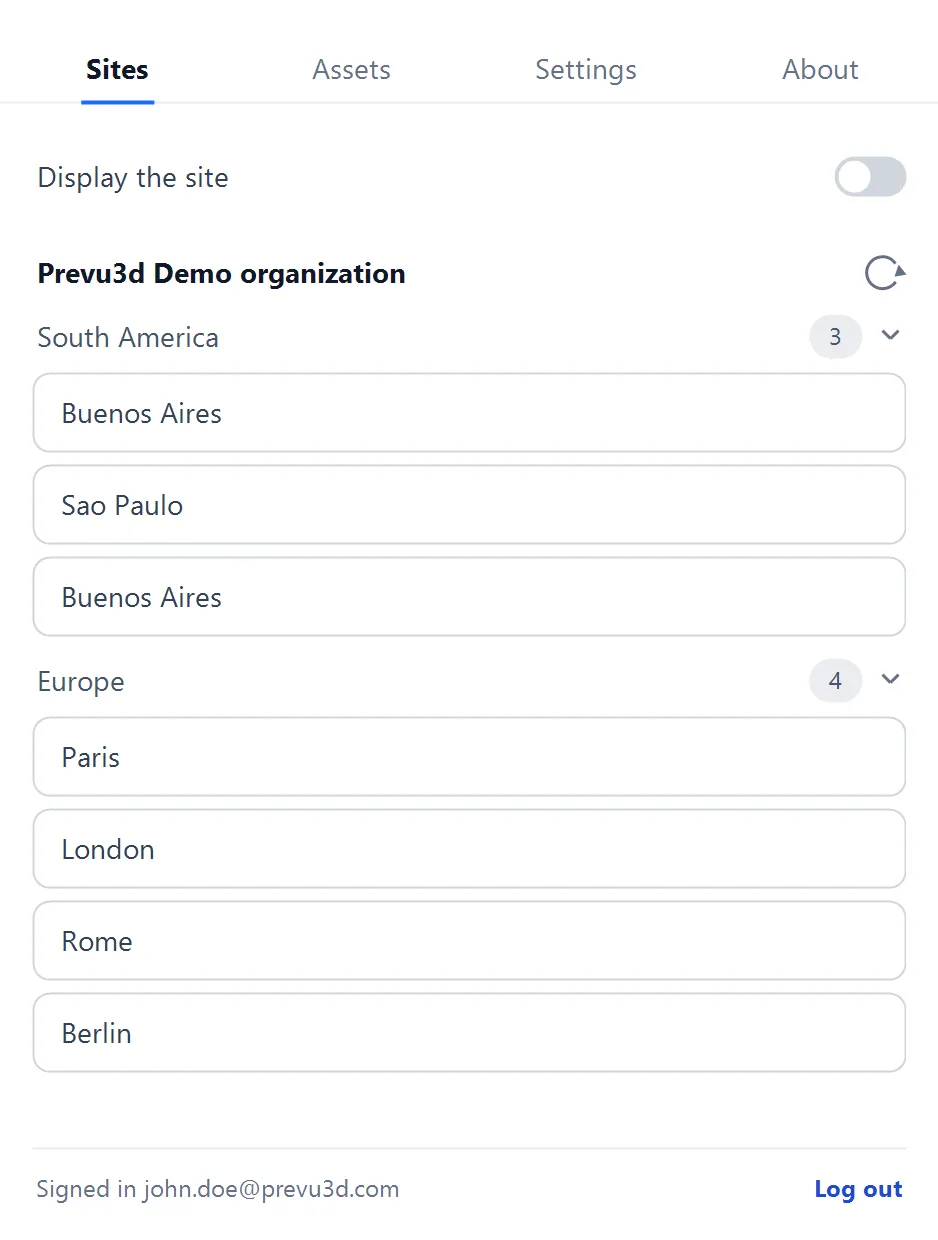
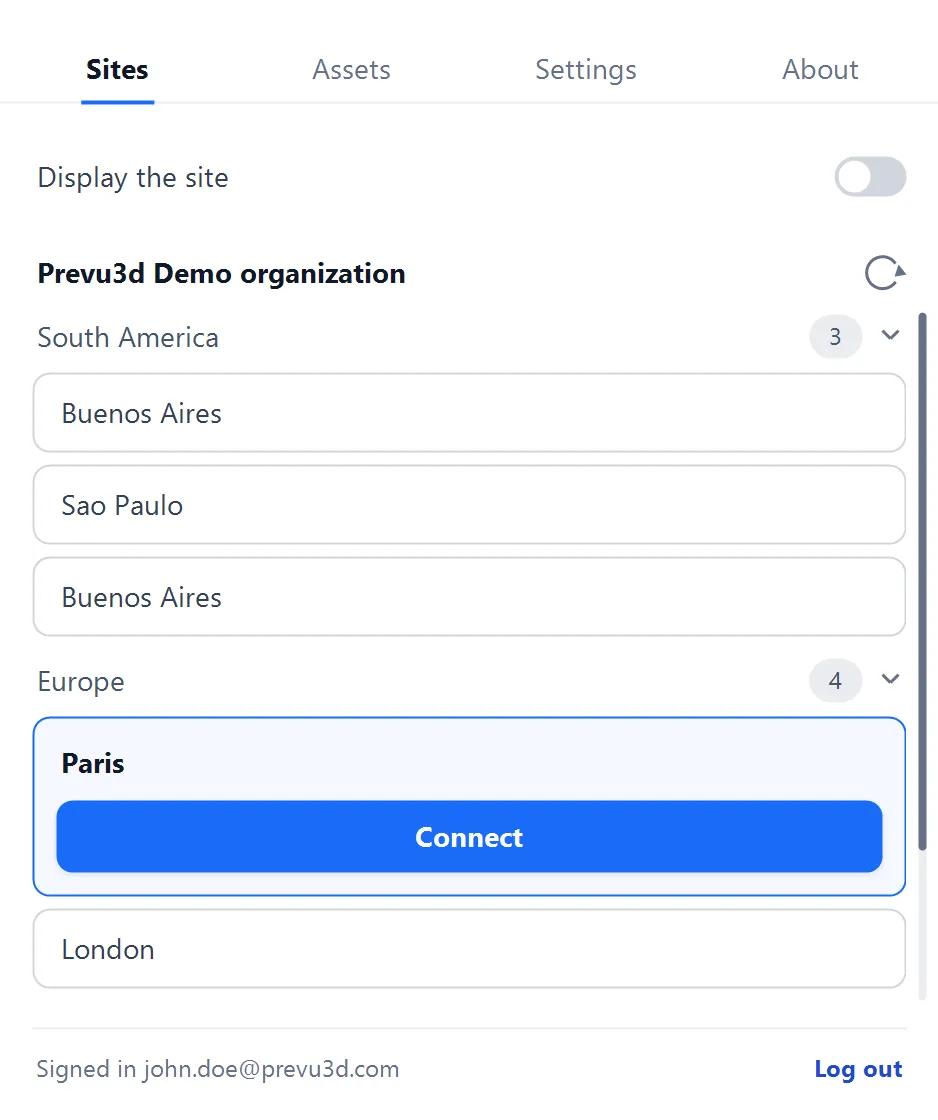
Once signed in, the Sites tab shows:
-
the organization name at the top, with a Refresh button,
-
one division expander per division you have access to, each with a count of its sites,
-
inside each division, a site entry per site.
The bottom of the panel shows Signed in <email> and a Log out link.
Connecting to a site
Section titled “Connecting to a site”-
Click a division to expand it and reveal its sites.
-
Click a site to select it. RealityConnect checks whether the site has a RealityTwin, briefly showing Checking for a RealityTwin….
-
Once the check completes, click Connect.
While connected, the active site card shows two status badges:
-
Status: connected — the session is bound to this site.
-
Not displaying site / Loading display… / Rendering… / Displaying site / Display failed — the live state of the streamed overlay.
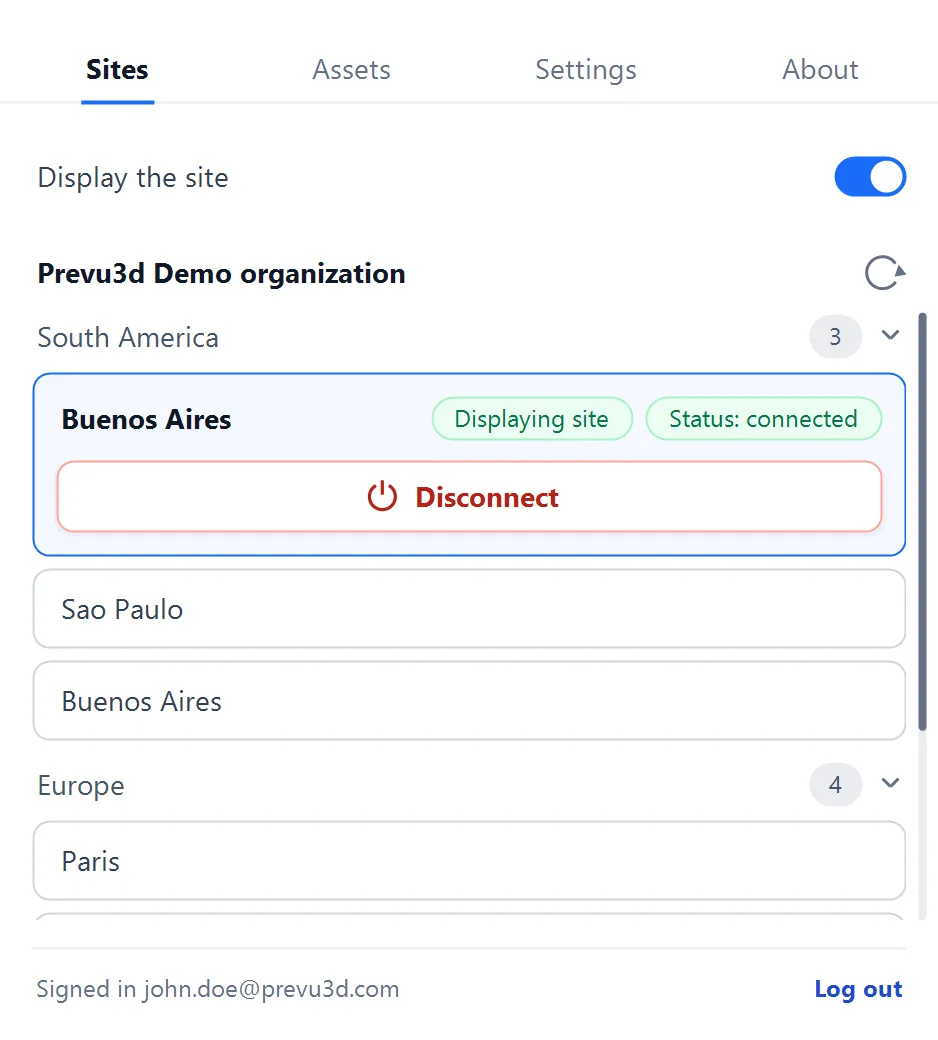
To switch sites, click Disconnect, then select another site and click Connect.
Site display
Section titled “Site display”The Display the site toggle streams the connected site’s RealityTwin directly into the active 3D viewport.
-
The toggle appears at the top of the Sites tab.
-
Switch it on to start streaming; switch it off to stop.
While the toggle is on, the status badge cycles through Loading display… → Rendering… → Displaying site.
The site streams entirely in memory. No files are created on disk for the streamed overlay, keeping interaction fast and minimizing system resource use. The scene refines progressively based on the camera position, according to the configured Streaming quality (see Settings below).
Asset manager
Section titled “Asset manager”The Asset manager (the Assets tab) lets you browse, load, and unload individual RealityAssets from the connected site into your Plant Simulation model.
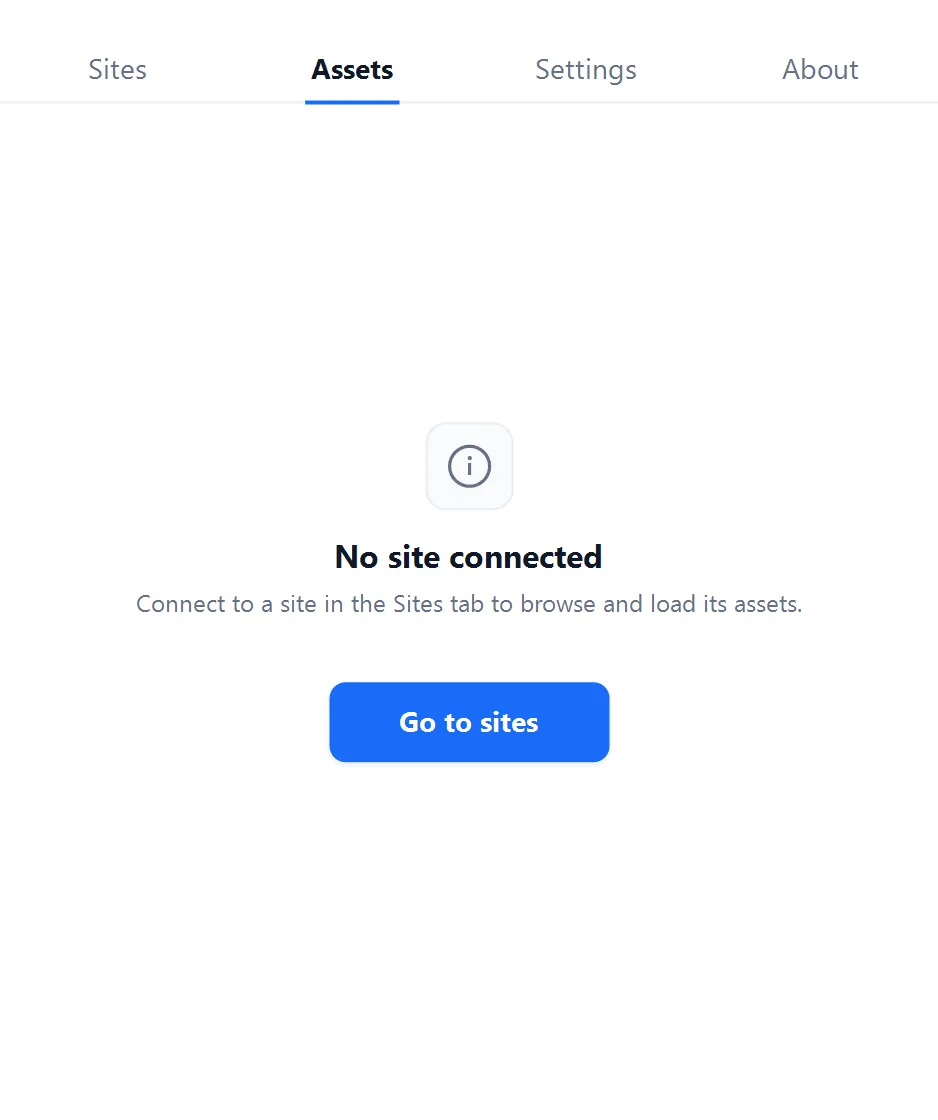
Until you connect to a site, the tab shows an empty state with a shortcut back to the Sites tab.
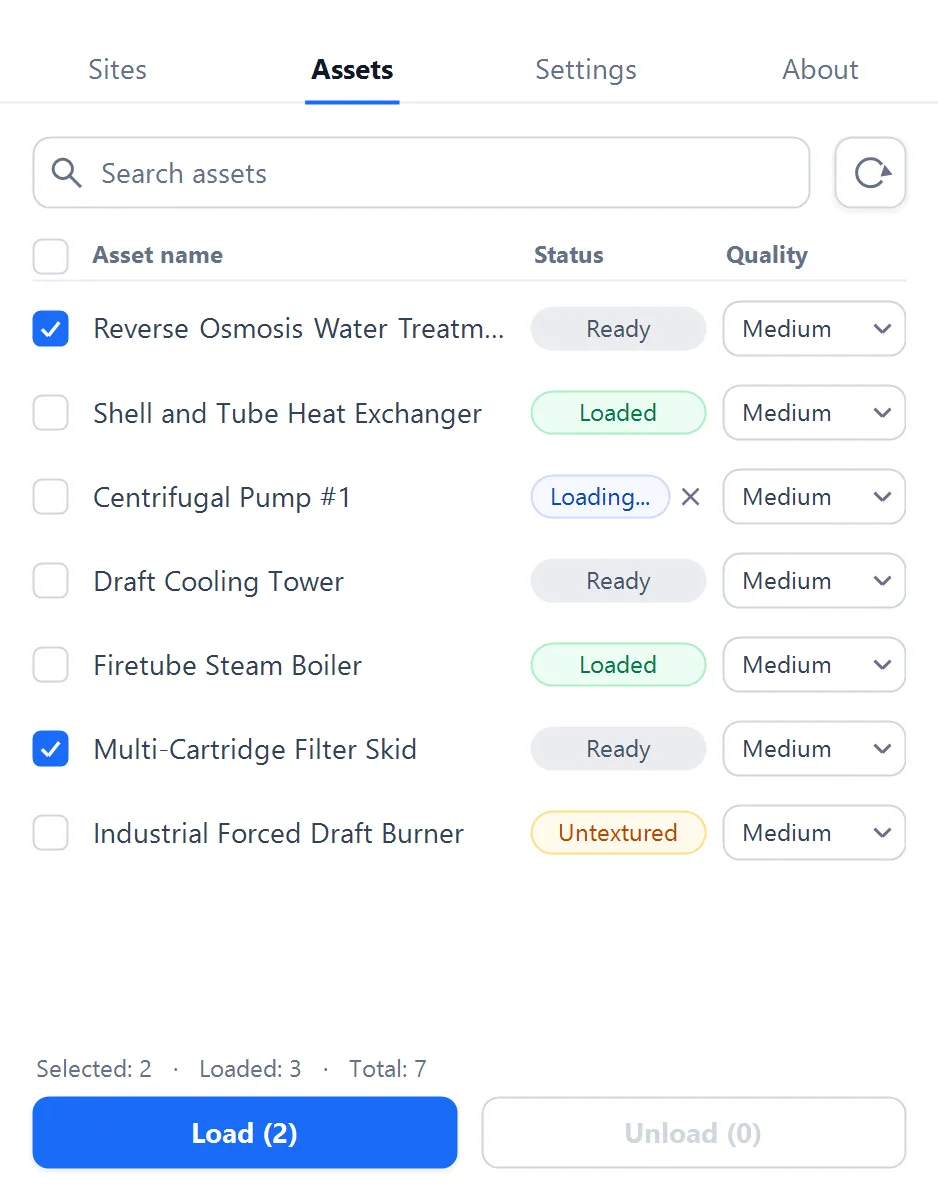
Once connected, the Assets tab shows:
-
a Search assets box and a Refresh button,
-
a checklist of assets with Asset name, Status, and Quality columns,
-
a Load and an Unload button to import or remove assets,
-
a status line: Selected: X · Loaded: Y · Total: Z.
Asset operations
Section titled “Asset operations”-
Load
Imports every selected asset that isn’t already loaded into the active model. The button label shows how many assets are queued. -
Unload
Removes the selected loaded assets from the model. The button label shows how many loaded assets are currently selected.
Loaded RealityAssets become native Plant Simulation objects (see Where imported assets go below).
Asset status
Section titled “Asset status”The Status column shows a colored pill that reflects the per-asset lifecycle:
| Status | Meaning |
|---|---|
| Ready | Available; not loaded. |
| Loading… | Geometry is being extracted and imported. |
| Cancelling… | Cancel was requested; cleanup in progress. |
| Loaded | Imported into the model. |
| Failed | Import failed. Check the log for details. |
While an asset is Loading…, an X appears next to the status pill. Click it to cancel the import of that asset.
Per-asset import quality
Section titled “Per-asset import quality”Each asset has its own Quality selector — Low, Medium, or High — that sets the level of detail of the imported geometry. Higher quality keeps more detail at the cost of a larger, heavier object in your model.
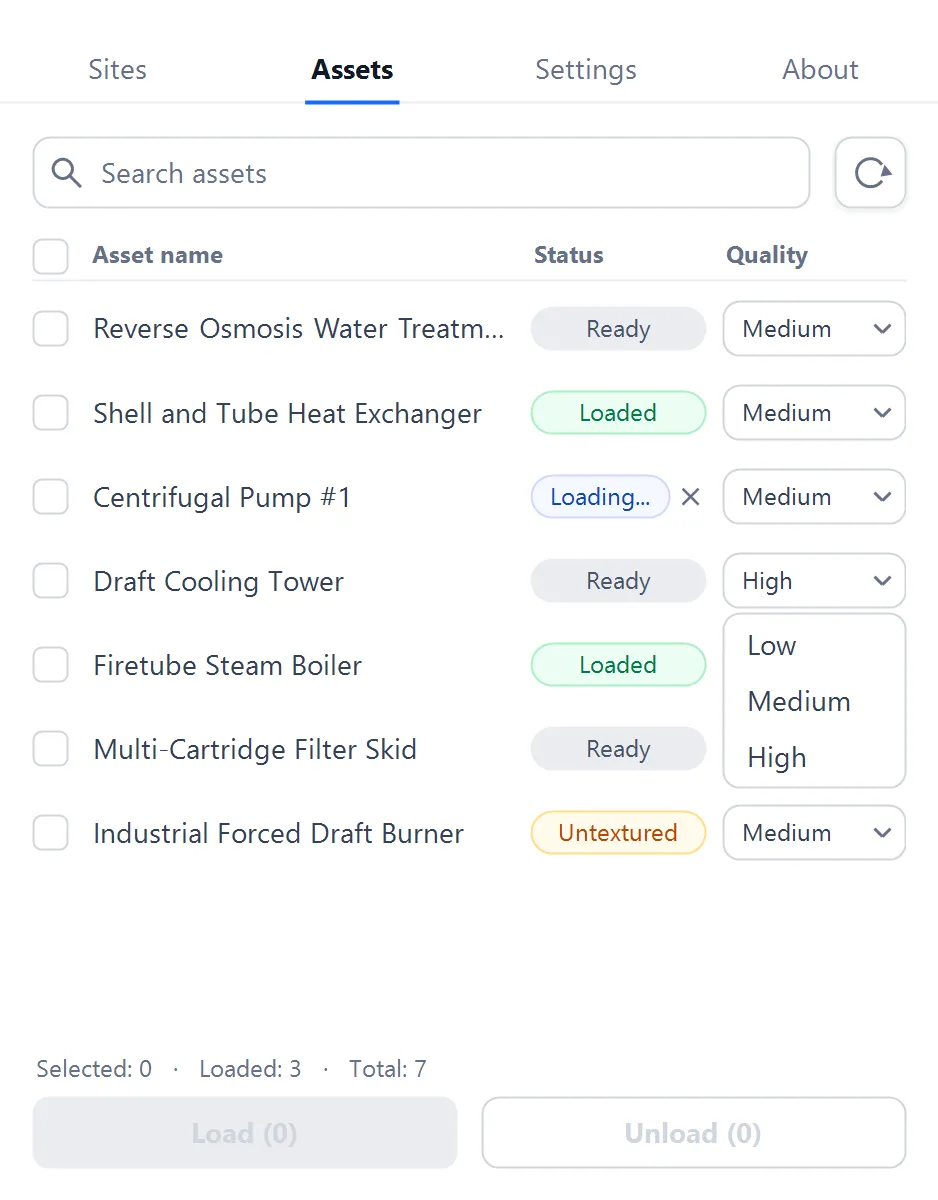
This is independent of the live-overlay Streaming quality in Settings: the per-asset Quality applies only to assets you Load into the model, while Streaming quality affects only the in-memory overlay.
Asset filtering
Section titled “Asset filtering”-
Search
Filter the list by name. Filtering is case-insensitive and updates as you type. -
Refresh
Manually reload the asset list from the connected site. This also happens automatically whenever the Assets tab is opened.
Settings
Section titled “Settings”The Settings tab exposes the live-overlay Streaming quality.
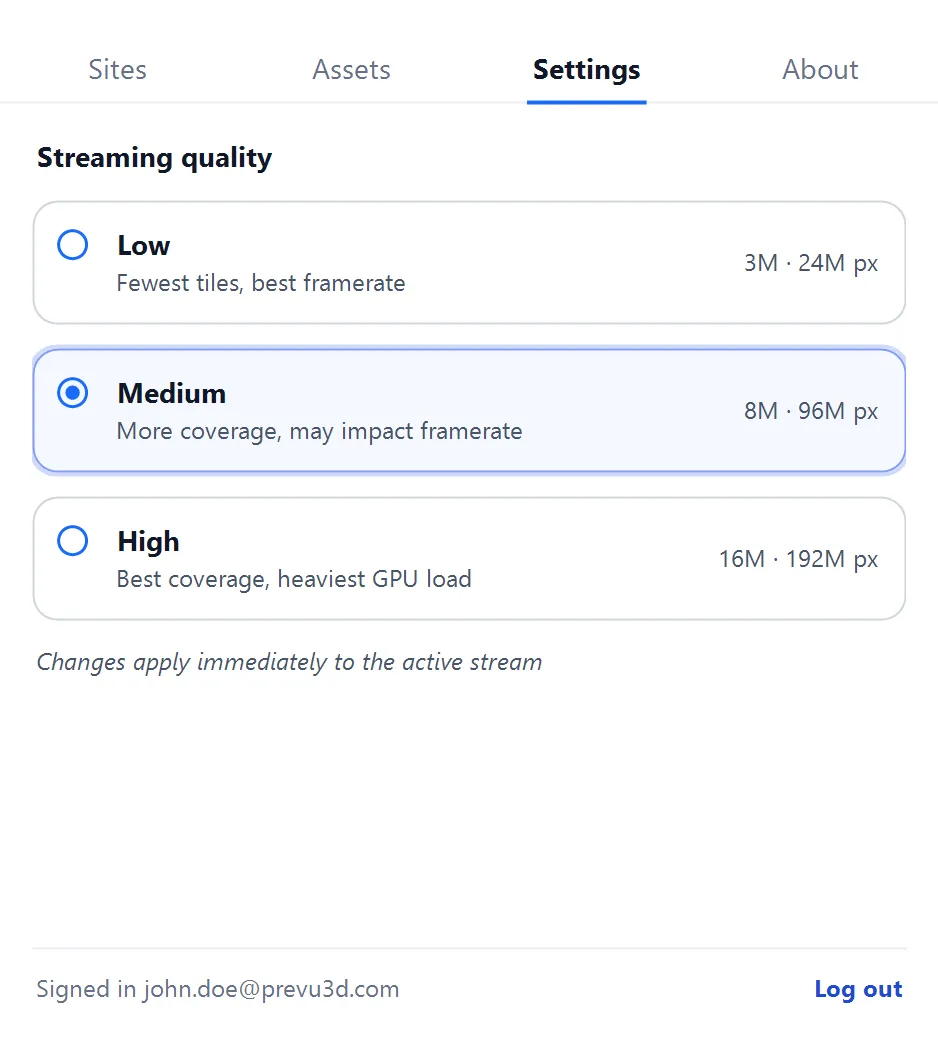
The Streaming quality preset controls the overall quality of the 3D environment displayed on screen. Three presets are available:
| Preset | Description | Budget |
|---|---|---|
| Low | Fewest tiles, best framerate. | 3 M tris · 24 M px |
| Medium | More coverage, may impact framerate. | 8 M tris · 96 M px |
| High | Best coverage, heaviest GPU load. | 16 M tris · 192 M px |
Changes apply immediately to the active stream.
Where imported assets go
Section titled “Where imported assets go”When you load a RealityAsset, the plugin imports its geometry as a native Plant Simulation object. The object is created under .UserObjects (the user-defined class library) with its 3D graphic loaded from the captured geometry, and placed at the model origin — RealityConnect bakes the asset’s real-world position into the geometry so repeated imports from the same site stay aligned with each other.
Imported geometry becomes part of your model — there is nothing extra to manage on disk. (Temporary intermediate files used during import are written to %TEMP%\RealityConnect and can be deleted safely.)
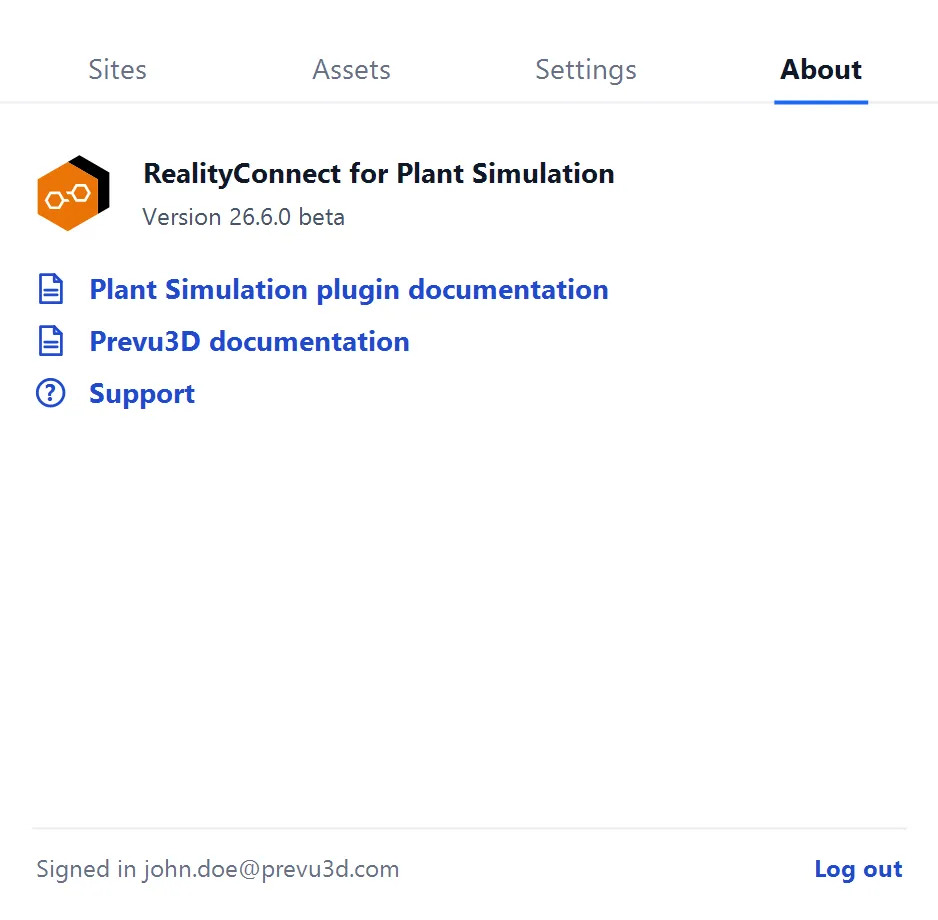
The About tab shows the installed plugin version and quick links to this documentation, the Prevu3D documentation, and Support.