
User Guide
RealityConnect for Revit is designed to bridge the gap between high-fidelity digital twins and your BIM environment. It allows you to stream large-scale reality capture data directly into Revit without draining system resources and provides a streamlined interface for asset management. Both orthographic and perspective 3D views are supported.
Accessing your data
Section titled “Accessing your data”To access your data, you must first establish a connection to Prevu3D.
-
In Revit, click the Connect button in the Prevu3D ribbon.
A web browser will open and redirect you to the Prevu3D authentication page. -
In your web browser, sign in to your Prevu3D account if required.
-
In the web browser, authorize the plugin to access your organization’s data.
-
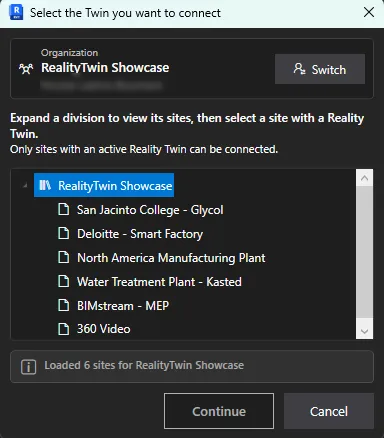
Back in Revit, the connection dialog opens with your Organization and signed-in account shown in the header. Select:
-
the Division,
-
then the Site that contains the desired RealityTwin.
-
-
Click Continue to confirm the connection.
-
Once connected, the Display Environment and Manage Assets buttons become available.
Connection troubleshooting
Section titled “Connection troubleshooting”RealityConnect validates its secure connections against the Windows certificate store and follows the proxy configuration defined in Windows, so it connects reliably on corporate networks that use a proxy or inspect TLS traffic.
If sign-in cannot be completed, the plugin names the address it could not reach and shows a report you can expand with Details. The report lists every address that was tested with its result, the proxy configuration in use, and the certificate authority presented for the connection. It also includes the list of hosts to allow over HTTPS (port 443), which you can pass on to your IT team.
Environment Display
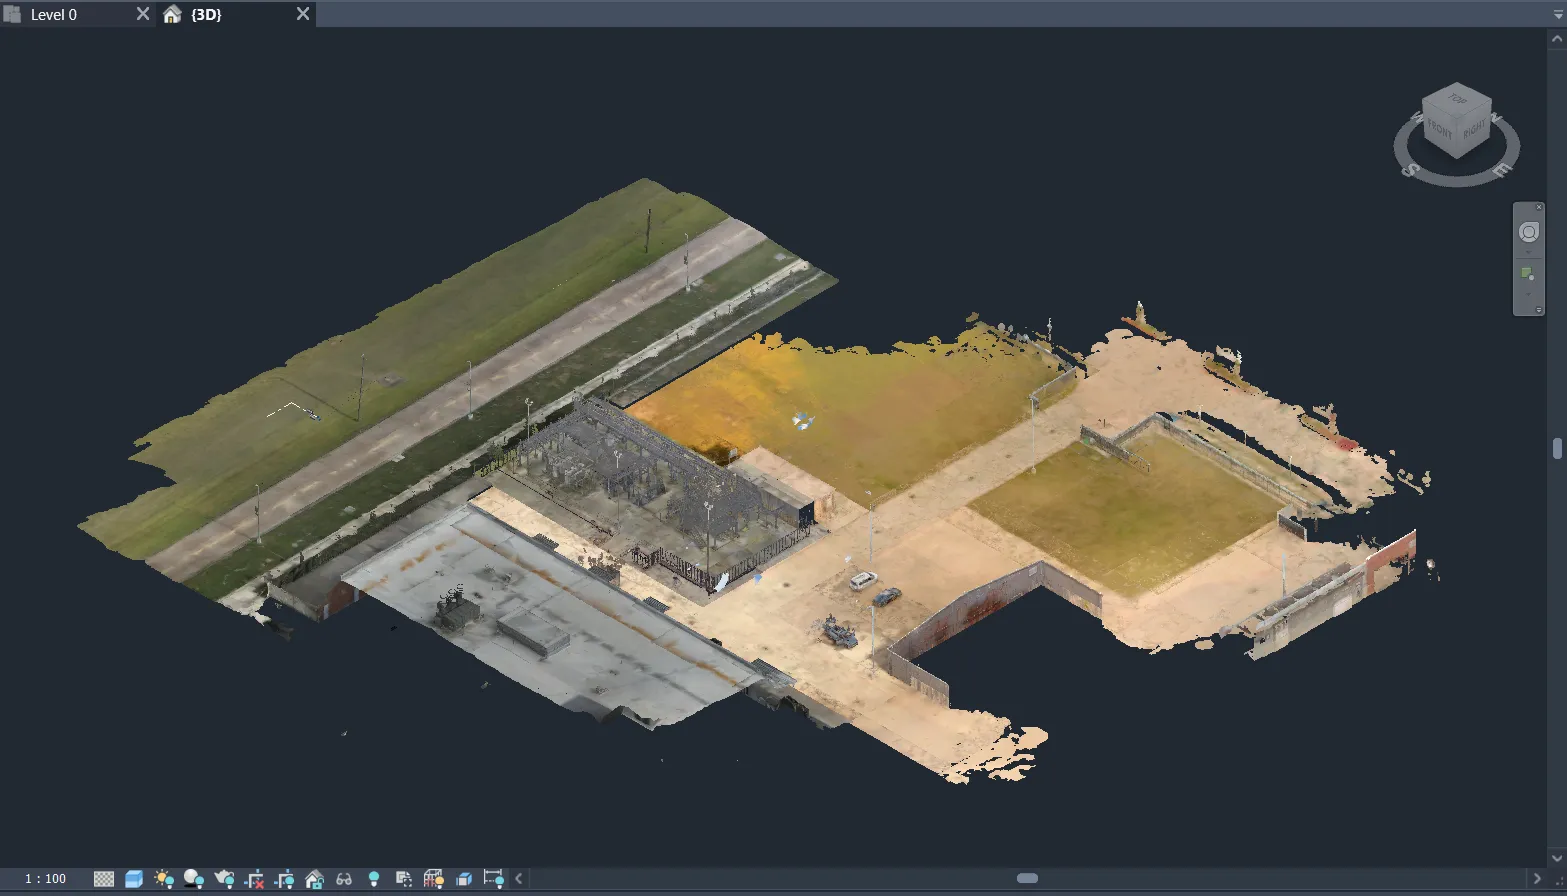
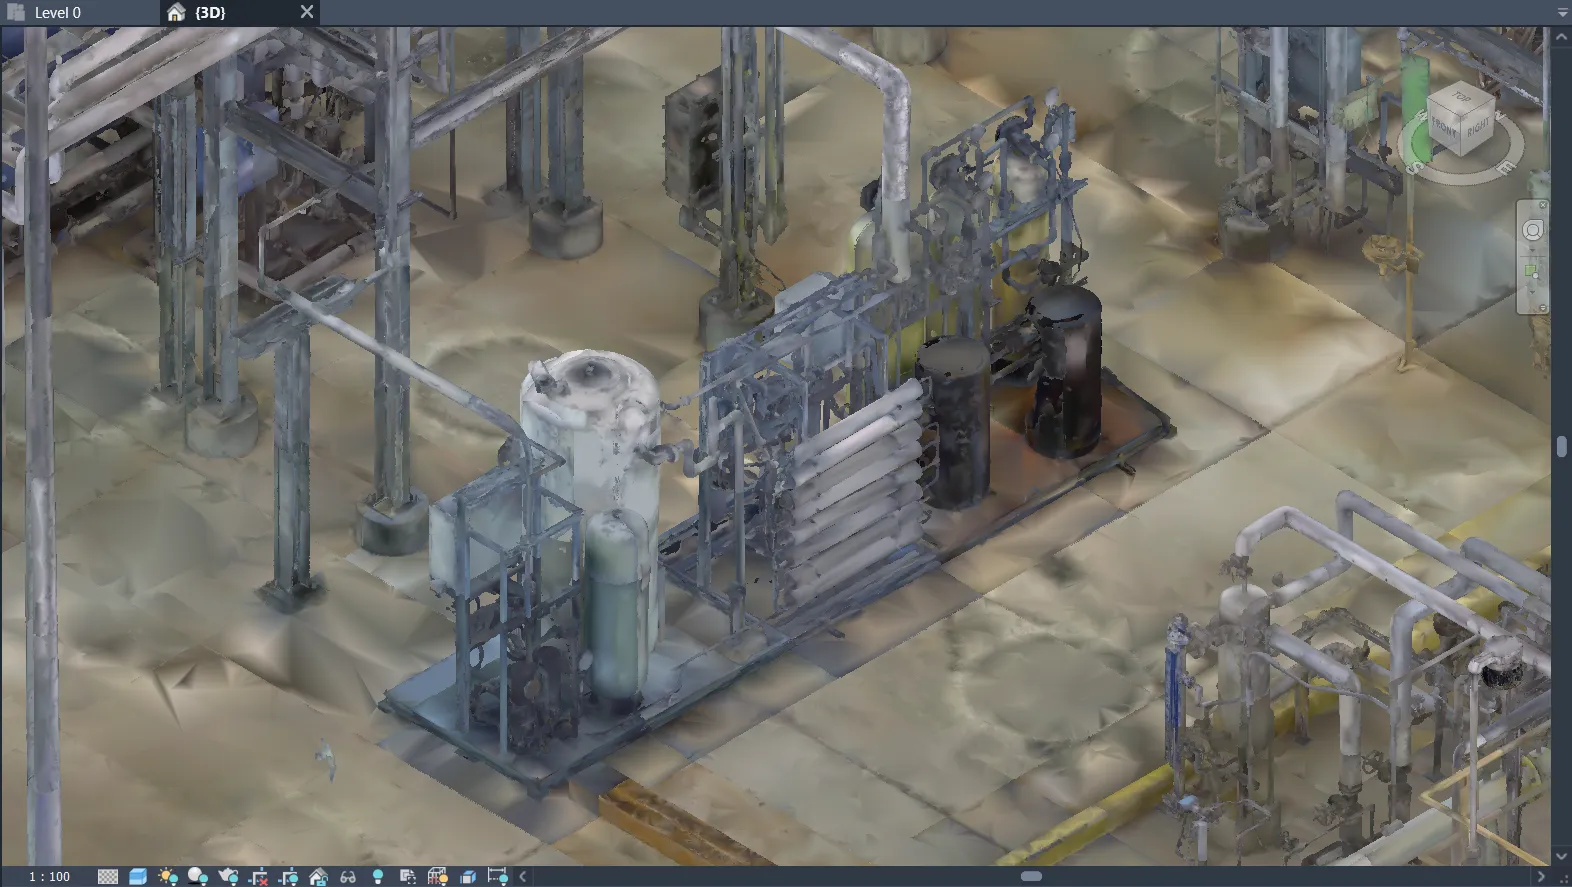
Section titled “Environment Display”The Environment Display tool streams the selected RealityTwin directly into the active 3D view, providing immediate site context for your project.
-
Show / hide environment
Click Display Environment to stream and display the environment in the current view.
Once active, the button changes to Hide Environment, allowing you to remove the environment overlay with a single click. -
In-memory streaming
The environment is streamed entirely in memory, without creating or loading files on disk, ensuring fast interaction and minimal impact on system resources. -
View-dependent refinement
The scene is progressively refined based on the camera position, improving visual quality where it matters while maintaining smooth performance.
For details about rendering options, HLOD behavior, and performance limits, refer to the Environment Settings documentation.
Asset Manager
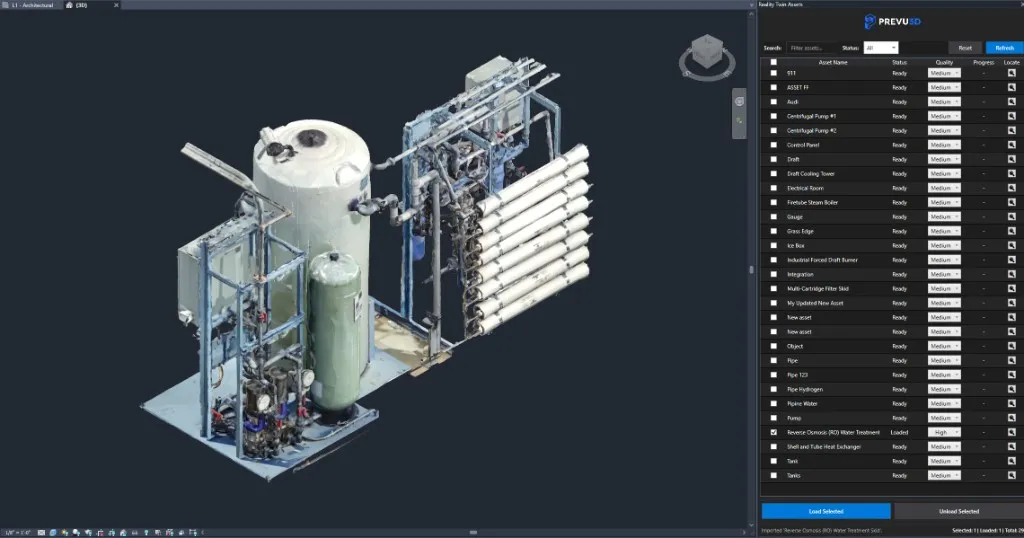
Section titled “Asset Manager”The Asset Manager allows you to browse, manage, and import assets from the selected RealityTwin into your Revit model.
Asset operations
Section titled “Asset operations”-
Load Selected
Load the selected assets into the active Revit view. -
Unload Selected
Remove the selected assets from the scene if they are currently loaded. -
Locate
Move the camera to focus on the selected asset.
The asset must be loaded in the scene for this action to be available.
Global actions
Section titled “Global actions”-
Refresh
Reload the asset list from the RealityTwin to synchronize the panel with the latest data. -
Reset
Restore the Asset Manager to its default state.
Asset filtering
Section titled “Asset filtering”-
Search
Filter assets by name. -
Status filter
Filter assets based on their current state.
Operation feedback
Section titled “Operation feedback”-
Progress column
Displays the progress of ongoing operations for each asset. -
Status summary
Displays the number of available, selected, and loaded assets.
For configuration options such as asset quality, positioning, and import behavior, refer to the Asset Settings documentation.
Settings
Section titled “Settings”Use the Settings menu to customize the behavior, performance, and appearance of the Prevu3D plugin.
Settings are organized into three main sections: General, Environment, and Assets.
General
Section titled “General”General settings control the overall behavior and appearance of the plugin.
-
Import Alignment
Defines the default alignment used when importing assets into Revit:-
Shared Coordinates
-
Origin to Origin
-
-
Theme
Select the visual theme of the plugin:-
Light
-
Dark
-
Same as Windows
-
Environment
Section titled “Environment”Environment settings control how the RealityTwin is streamed and displayed in the 3D view.
-
Triangle Budget
Sets the target level of geometric detail for the streamed environment.
Higher values increase visual fidelity but require more system resources (RAM, GPU, and CPU). The default is 4,000,000. As a rough guide, based on your hardware:-
2,000,000 or less — entry-level machines or laptops
-
4,000,000 — balanced default, suitable for most workstations
-
8,000,000 or more — high-end workstations with a dedicated GPU
If navigation becomes choppy, lower this value or reduce the Frame Time Budget.
-
-
Frame Time Budget
Controls navigation smoothness by limiting the amount of processing time per frame.
Lower values prioritize responsiveness during camera movement, potentially reducing visible detail while navigating. -
Display Mode
Defines how the environment is rendered:-
Colored — uses vertex colors from the RealityTwin
-
Shaded — displays geometry using a neutral gray material
-
-
System Statistics
Displays real-time performance indicators, including:-
Triangle Count
-
Last Frame Time
These metrics help evaluate whether the current environment settings are appropriate for your hardware and performance expectations.
-
Assets
Section titled “Assets”Asset settings define how individual objects are loaded and imported into Revit.
Asset quality levels
Section titled “Asset quality levels”Each asset quality level is defined by a target triangle count, allowing you to balance visual detail and performance.
-
Low Quality Triangles
Sets the maximum number of triangles used for assets loaded at low quality. -
Medium Quality Triangles
Sets the maximum number of triangles used for assets loaded at medium quality. -
High Quality Triangles
Sets the maximum number of triangles used for assets loaded at high quality.
Each value can be reset individually to its default.
Default asset behavior
Section titled “Default asset behavior”-
Default Quality
Defines the quality level used by default when loading assets. -
Import Mode
Defines how assets are imported into the Revit project:-
Textured Family — writes a textured OBJ, imports it into a Revit family (Generic Model), and places an instance in the scene while keeping the reusable
.rfain the generated files folder for later standalone re-import. The asset keeps its real texture and Revit’s default look, and the streamed environment is carved out behind it so both can be shown together. -
Embedded — bakes the geometry directly into the Revit file with no file on disk (flat per-region colours, no texture) for better project portability
-
-
Generated files folder
Specifies the local folder used to store the generated files (.objand.rfa) when using the Textured Family import mode. Embedded mode writes nothing. Leave blank to use the default location.
Click About in the Prevu3D ribbon to open a dialog showing:
-
the installed plugin version,
-
a link to the User Guide,
-
a link to the Prevu3D Privacy Policy,
-
the Log file of the current session.
Click the log file path to open its folder in File Explorer with the file selected. The plugin writes one log file per Revit session in %APPDATA%\Prevu3D\RealityConnectRevit\Logs and keeps the five most recent ones, so the log of an earlier session is still available when you report an issue.