
Installation
Install RealityConnect for Omniverse to stream RealityTwin environments and Reality Assets directly into your Omniverse stage.
Supported Omniverse versions
Section titled “Supported Omniverse versions”RealityConnect for Omniverse runs in Kit-based Omniverse applications built on Kit SDK 107 through 110. This includes USD Composer, USD Presenter, Kit “Code”, and NVIDIA Isaac Sim 5.1 (Kit 107). The installer ships a binary that matches your application’s Kit version and selects it automatically — you do not need to know which version you have.
Download the installer
Section titled “Download the installer”Visit the following page and download the latest Windows plugin version: https://cloud.prevu3d.com/settings/apps-and-plugins. The installer is a .exe setup file whose name looks like RealityConnectOmniverse-<version>-windows.exe.
Save the installer somewhere easy to find, such as your Downloads folder.
Install on Windows
Section titled “Install on Windows”RealityConnect installs for the current Windows user only, so no administrator rights are required — you will not see a User Account Control (elevation) prompt at any point. The wizard has a handful of screens, but only two need a decision from you: Choose Omniverse Installation (step 2) and Start Menu Shortcut (step 4). The rest are Next / Install / Finish.
-
Start the installer. In the folder where you saved the download (for example, Downloads), double-click the setup file — its name looks like
RealityConnectOmniverse-<version>-windows.exe. After a moment the installer opens directly on the Choose Omniverse Installation screen (there is no separate welcome page). -
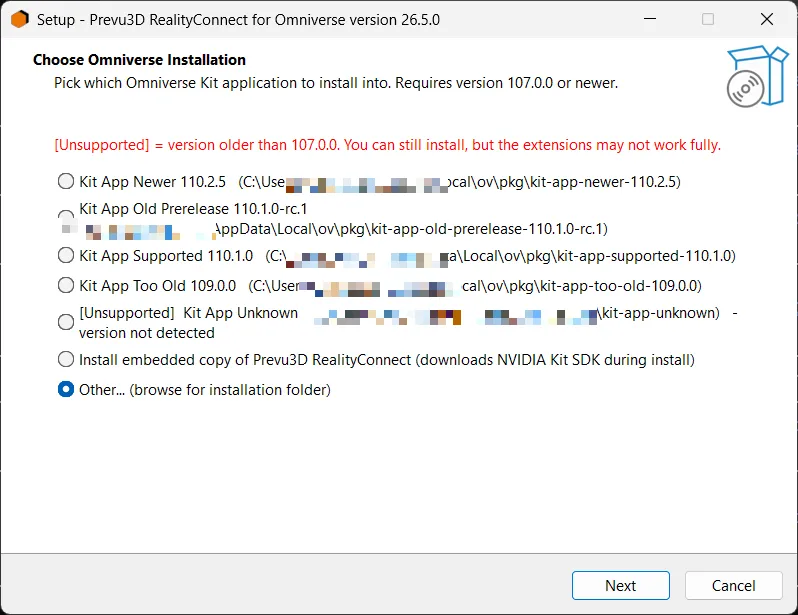
Choose Omniverse Installation. This is the main decision. The installer automatically scans your machine for Kit-based Omniverse applications and lists each one it finds as a selectable row showing the application’s name and its folder (for example, USD Composer 2024.1.1). A note near the top explains the [Unsupported] marker — it appears next to any application older than Kit 107: you can still install into it, but the extensions may not work fully. Select one option, then click Next:
-
A detected application — click the row for the Omniverse application you want RealityConnect to load into. This is the normal choice when you already use USD Composer, USD Presenter, Kit “Code”, Isaac Sim, and so on.
-
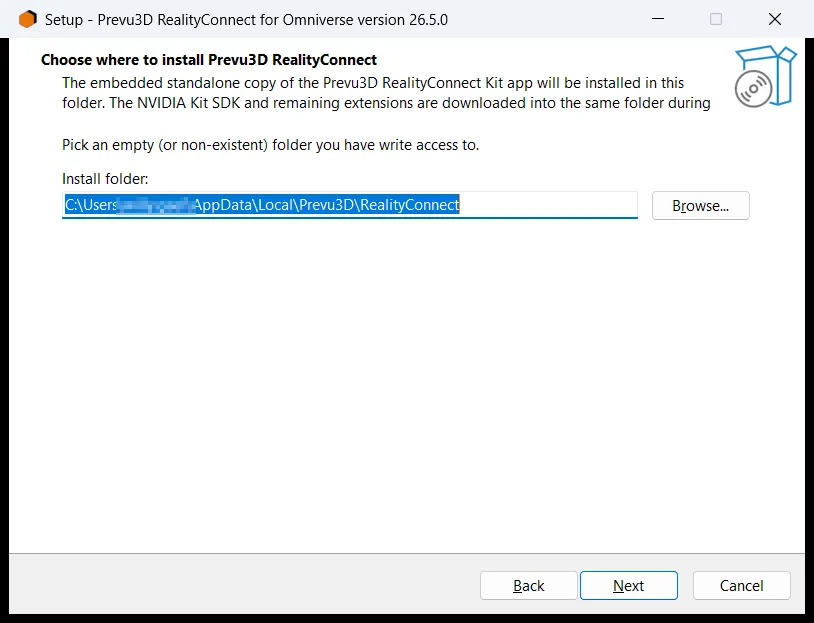
Install embedded copy of Prevu3D RealityConnect (downloads NVIDIA Kit SDK during install) — choose this only if you do not already have an Omniverse application. The installer downloads a matching, self-contained Kit runtime during installation, so an internet connection is required. With this option, a later Choose where to install screen asks for an install folder — accept the suggested location under your user profile, or click Browse to pick another empty/new folder you can write to.
-
Other… (browse for installation folder) — choose this if your Omniverse application was not detected automatically. After you click Next, a folder picker appears: browse to the application’s root folder — the one that directly contains the
kit\kit.exefile — and click Next. The extensions are placed in that folder’sextssubfolder. If you point it at a folder that does not containkit\kit.exe, the installer warns you and lets you choose again.
-
The embedded-copy Choose where to install screen looks like this:
-
Existing-version prompt (only if applicable). If RealityConnect is already installed in the location you chose, the installer asks what to do: it offers to upgrade when it finds an older version, or to reinstall (overwrite) when it finds the same version. Click Yes to proceed, or No to go back and pick a different location.
-
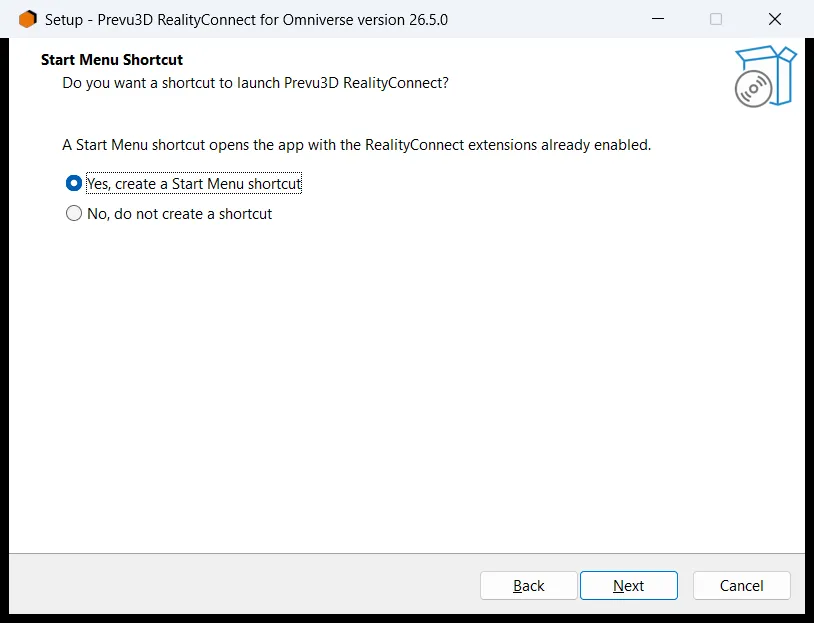
Start Menu Shortcut. The installer asks “Do you want a shortcut to launch Prevu3D RealityConnect?” and explains that the shortcut opens the application with the RealityConnect extensions already enabled. Choose one, then click Next:
-
Yes, create a Start Menu shortcut (recommended) — the simplest way to use RealityConnect; the shortcut launches your application with the extensions turned on automatically every time. If — and only if — you chose Other… at step 2, one extra screen, Choose Application Launcher, appears: it lists the launcher programs the installer found in your application’s folder. Select the one that normally starts the application, or click Browse to choose the launcher file yourself, then click Next.
-
No, do not create a shortcut — the extensions are still installed, but no launch shortcut is created and they are not turned on automatically. Choose this only if you prefer to start the application your own way; you will then enable the extensions manually the first time (see the note at the end of this page).
-
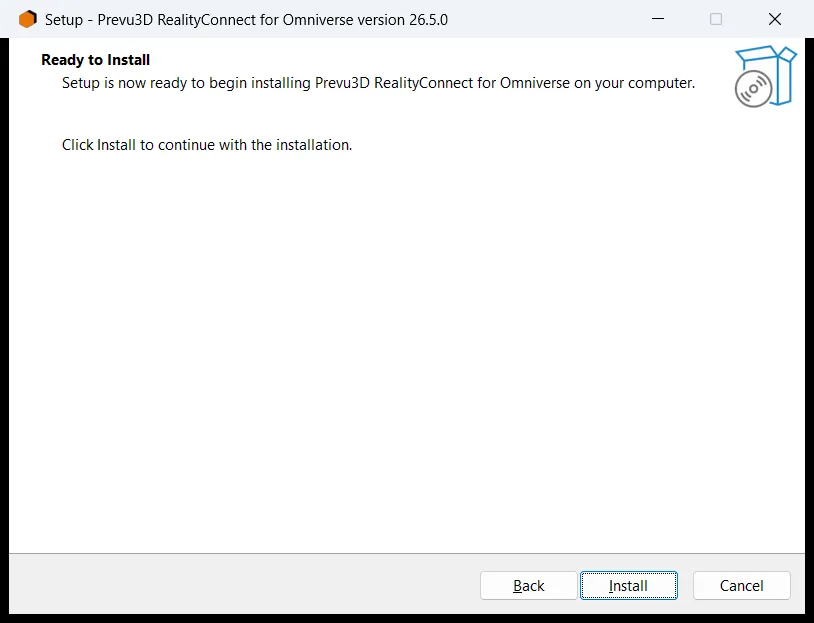
- Ready to Install. The wizard shows a summary of what it is about to do. Review it, then click Install.
-
Installation progress. A progress screen appears while Setup works:
-
When installing into an existing application, the files copy in a few seconds.
-
When installing the embedded copy, the NVIDIA Kit SDK downloads now. A live log on the screen streams the download and setup as it happens; depending on your internet speed this can take several minutes. Leave the window open and let it finish. (If you need to stop, the screen lets you cancel the download safely.)
-
-
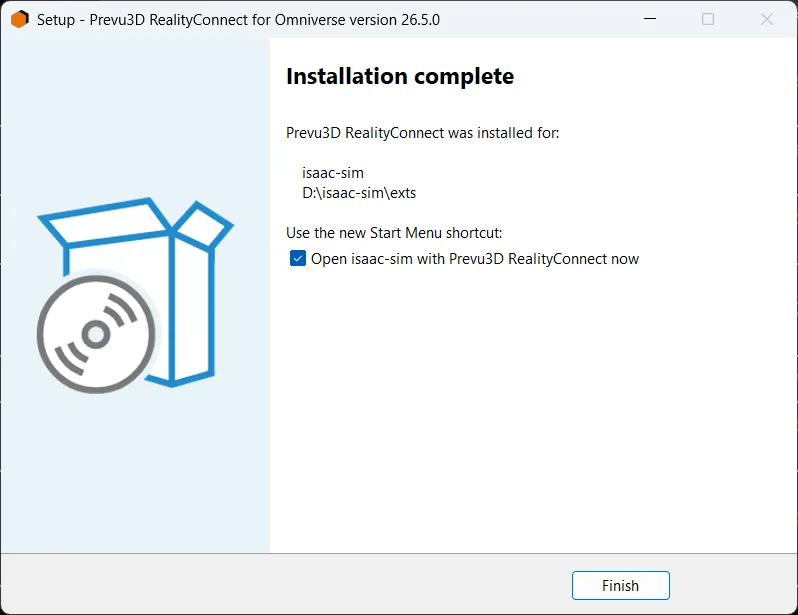
Setup Completed. The final screen confirms the install — it tells you which application received the extensions and the name of the new Start Menu shortcut.
-
If you created a shortcut, tick Open … now to launch the application immediately (optional).
-
Click Finish to close the installer.
-
- Open RealityConnect. Open the Windows Start menu and click the new shortcut — “<your application> with Prevu3D RealityConnect” (or simply “Prevu3D RealityConnect” if you installed the embedded copy). Your Omniverse application launches with the RealityConnect panel already loaded — no further setup is needed. The first launch may take a little longer while the application starts.