
Navigating the Twin
The RealityTwin allows you to explore your space with multiple navigation modes.
Navigation Menu
Section titled “Navigation Menu”Located in the top-left corner of the screen, the Navigation Menu gives you access to various navigation modes:
-
Fly
-
Third person
-
Photosphere
-
Home

Fly Mode (default)
Section titled “Fly Mode (default)”This is the default state that allows you to use the tools and all the features of the application.
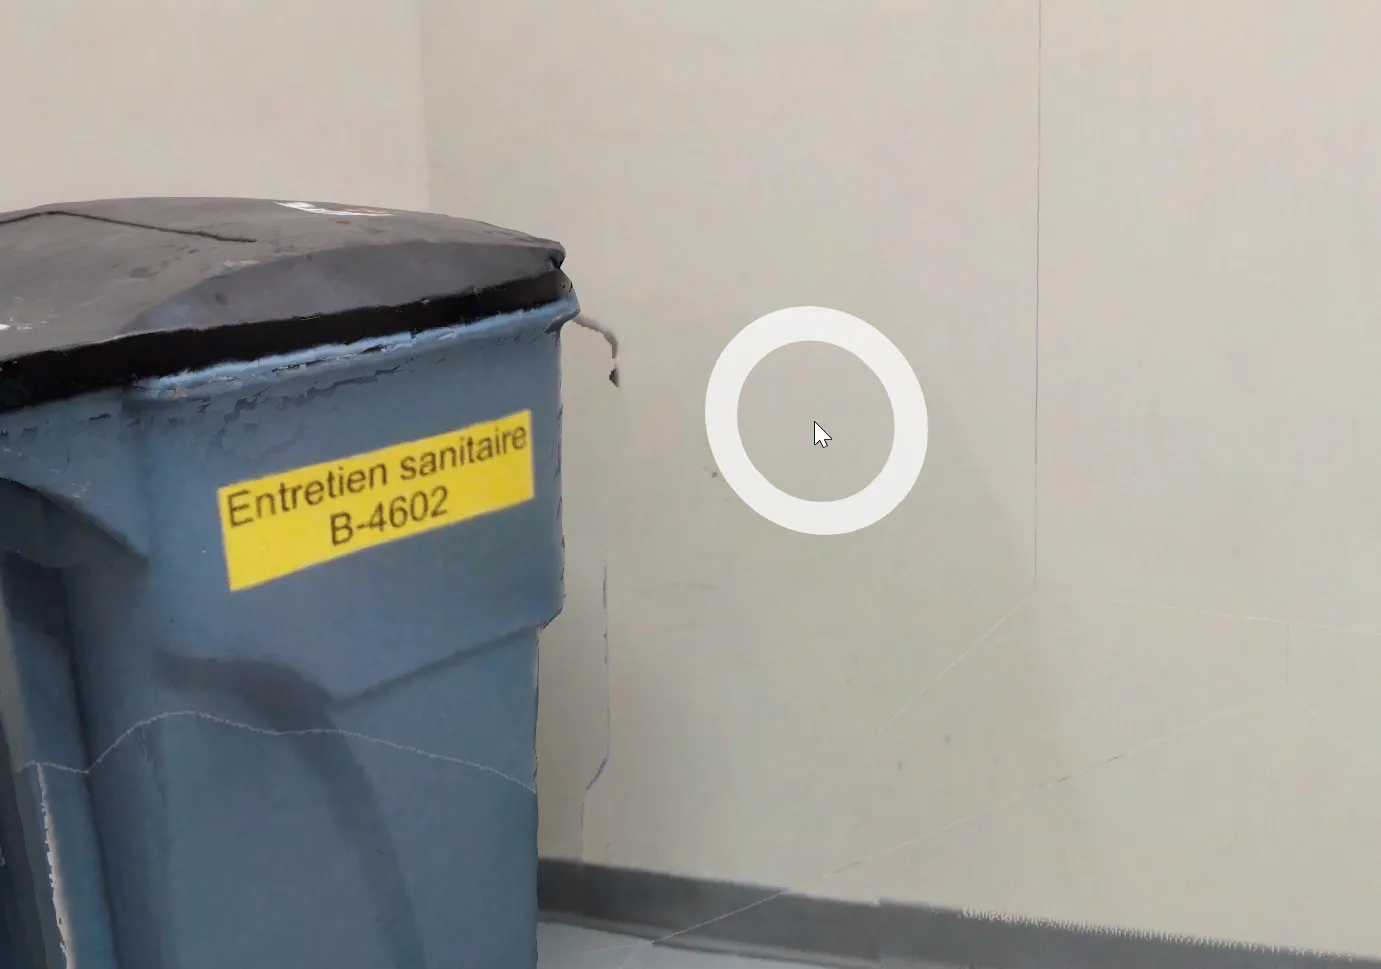
You may navigate in the environment using the navigation circle that appears under your mouse. To teleport somewhere, simply mouse click on the spot of the environment you want to teleport to. You may also rotate the view by holding and dragging the mouse cursor.
Controls
Section titled “Controls”| Action | Input |
|---|---|
| Teleport |  (mouse left double-click) (mouse left double-click) |
| Rotate the view | Hold and move mouse (mouse left-click) |
| Rotate around pivot |  Hold and move mouse (mouse right-click) Hold and move mouse (mouse right-click) |
| Move/panning |  Hold and move mouse (mouse middle click) Hold and move mouse (mouse middle click) |
| Zoom in/out | (mouse scroll) |
| Move |  or or  |
| Move faster |  |
| Move up |  |
| Move down |  |
Third Person Mode
Section titled “Third Person Mode”Third Person Navigation allows you to explore the environment using your avatar as a visual reference within the 3D space. Instead of navigating from a first-person perspective, the camera follows your avatar from behind.
You can activate Third Person mode from the Navigation Menu located in the top-left corner of the screen.
| Action | Input |
|---|---|
| Walk towards | (mouse left double-click) |
| Rotate the view | Hold and move mouse (mouse left-click) |
| Zoom in/out | (mouse scroll) |
| Move | or |
| Move faster | |
| Jump |  |
| Crouch |  |
Photospheres Mode
Section titled “Photospheres Mode”Photosphere Navigation allows you to explore the site through high-resolution 360° imagery captured by scanners. It’s ideal for inspection, review, and providing realistic visual context tied to specific capture stations.
Photospheres are not just static images, they fully support:
-
RealityAsset & 3D objects overlays
-
Measurements for quick verification
-
Annotations to document and share insights
These elements blend directly into the imagery, creating a rich and realistic environment that feels immersive and interactive.
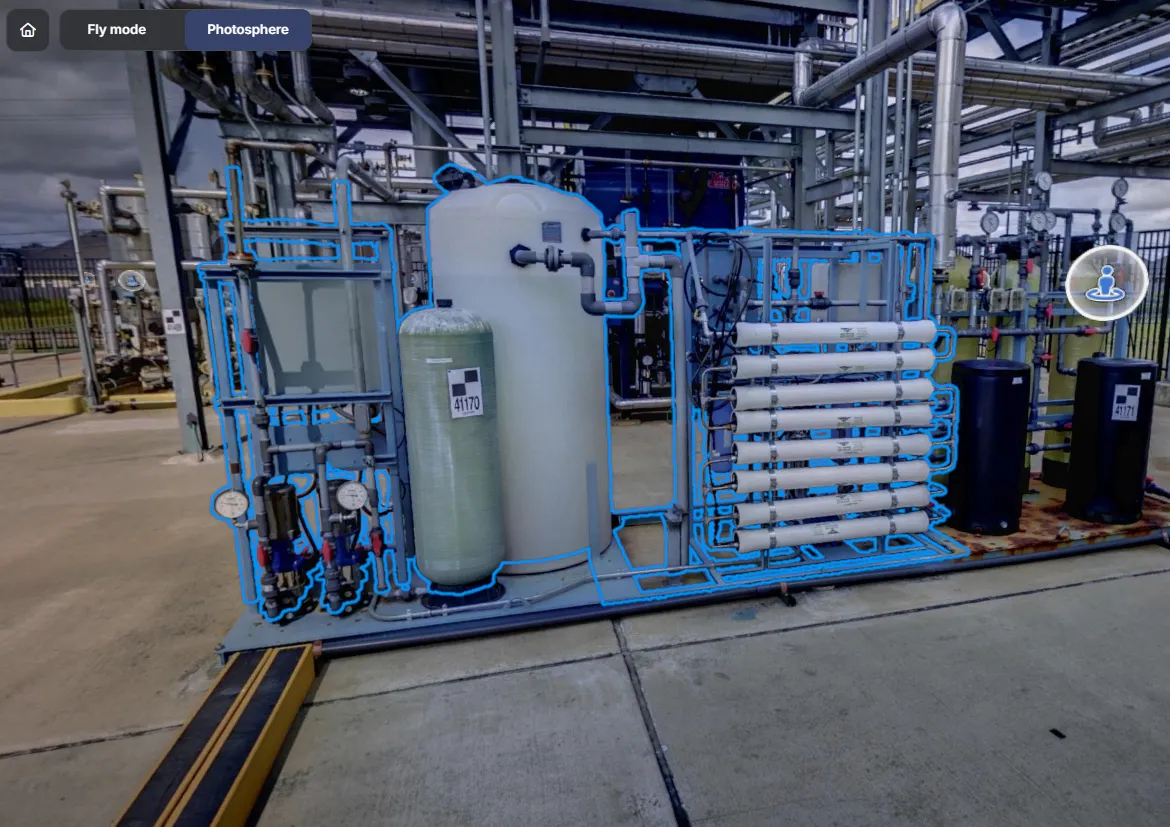
Movement in Photosphere mode is limited to scanner station positions. You can jump between them by selecting visible hotspots or station markers.
Controls
Section titled “Controls”| Action | Input |
|---|---|
| Jump to another station | (mouse left-click) |
| Rotate view | Hold and move mouse (mouse left-click) |
Minimap
Section titled “Minimap”The Minimap in RealityTwin is a spatial awareness tool located in the lower-left corner of the interface. It provides a real-time top-down view of your Twin, helping you maintain orientation and better understand your position within the larger environment.
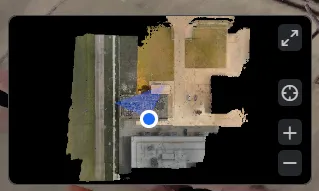
You can toggle the minimap’s visibility from the View Menu:
-
Open the View Menu (located at the top right of the interface).
-
Enable or disable the Minimap based on your preference.
Visual Representations
Section titled “Visual Representations”A Twin or Plan often combines several datasets, and each dataset can include more than one visual representation of the same data — for example a Mesh, a Point Cloud, or a Gaussian splat. Rather than displaying every representation at once, a priority order decides which one to show for each dataset.
How priority works
Section titled “How priority works”-
Representations follow a ranked priority order. The default is Mesh > Point Cloud > Gaussian splat.
-
Every dataset in the scene is displayed at the same time, each using the highest-priority representation it actually has.
-
If a dataset does not have the top-priority representation, it automatically falls back to the next available one in the order — for that dataset only.
Example: with a priority of Mesh > Point Cloud, you load two datasets together. Dataset A has both a mesh and a point cloud; Dataset B has only a point cloud. The viewer shows Dataset A as a mesh (its highest available representation) and Dataset B as a point cloud (it has no mesh, so it falls back) — and both render together in the same scene.
Reordering representation priority
Section titled “Reordering representation priority”You can change the priority order from the Views panel:
-
Drag and drop a representation up or down to raise or lower its rank, or
-
Open the overflow menu (⋮) on a representation and select Move up or Move down.
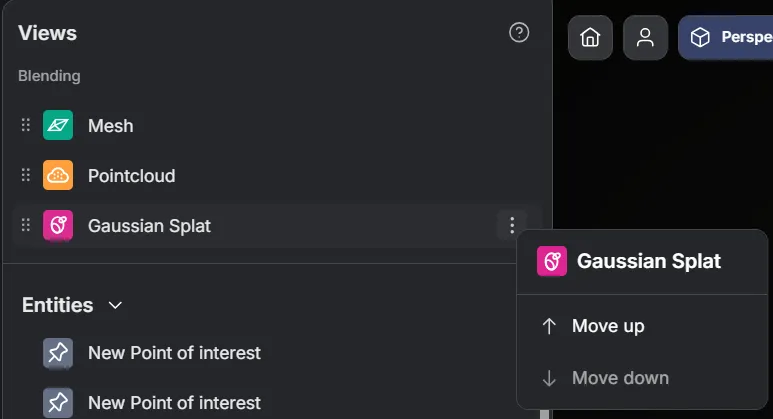
The order applies to all datasets in the current Twin or Plan — each one updates to display the highest-priority representation it has available.
Hiding a representation
Section titled “Hiding a representation”A representation can also be hidden on its own, which is useful for comparison — hide the mesh to inspect the CAD underneath, or hide everything but the point cloud to judge capture quality.
-
Hover a representation and click the eye button on its row.
-
A hidden representation keeps a barred eye on its row, so you can tell at a glance what is hidden. Click it to bring the representation back, or use the reset button next to the Views title to restore every representation at once.
CAD and Photosphere Overlays
Section titled “CAD and Photosphere Overlays”CAD and Photosphere layers operate as binary overlays that can be toggled On or Off independently. They are not part of the representation priority system and are not affected by the priority order.
Performance and Fidelity Mode
Section titled “Performance and Fidelity Mode”RealityTwin adjusts how the scene is rendered based on your hardware so navigation stays smooth while preserving visual quality where your machine allows.
Automatic detection
Section titled “Automatic detection”When you open a Twin, RealityTwin automatically detects your hardware and selects the quality mode that best balances responsiveness and visual quality. You can override this choice at any time — see Manual modes below.
Manual modes
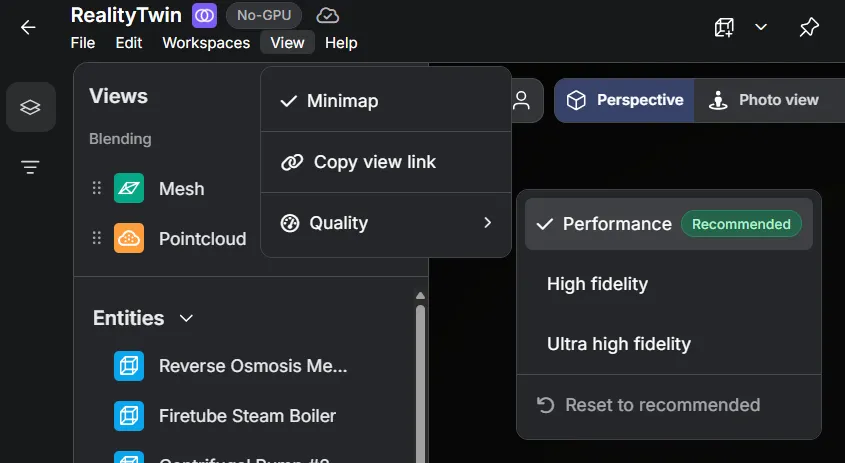
Section titled “Manual modes”You can also set the rendering quality yourself from the View → Quality menu:
-
Performance — lightweight rendering that favors responsiveness. A Recommended chip marks the mode that best fits your current hardware.
-
High fidelity — higher visual quality for more capable hardware.
-
Ultra high fidelity — maximum visual quality for high-end, GPU-accelerated machines.
-
Reset to recommended — return to the mode RealityTwin suggests for your setup.
View settings
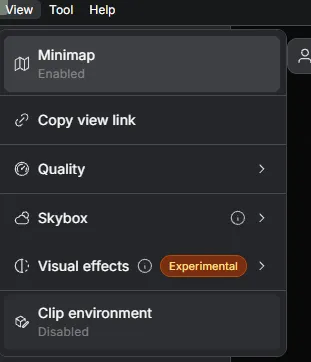
Section titled “View settings”The View menu at the top of the workspace gathers the settings that change how a space is displayed, without altering the space itself or what other users see.
| Setting | What it does |
|---|---|
| Minimap | Shows or hides the top-down orientation map — see Minimap. |
| Copy view link | Copies a link that reopens the space from your current viewpoint. |
| Quality | Sets the rendering quality — see Manual modes. |
| Skybox | Changes the environment background — see below. |
| Clip environment | Hides everything outside a box you place in the scene — see Clipping box. |
Skybox
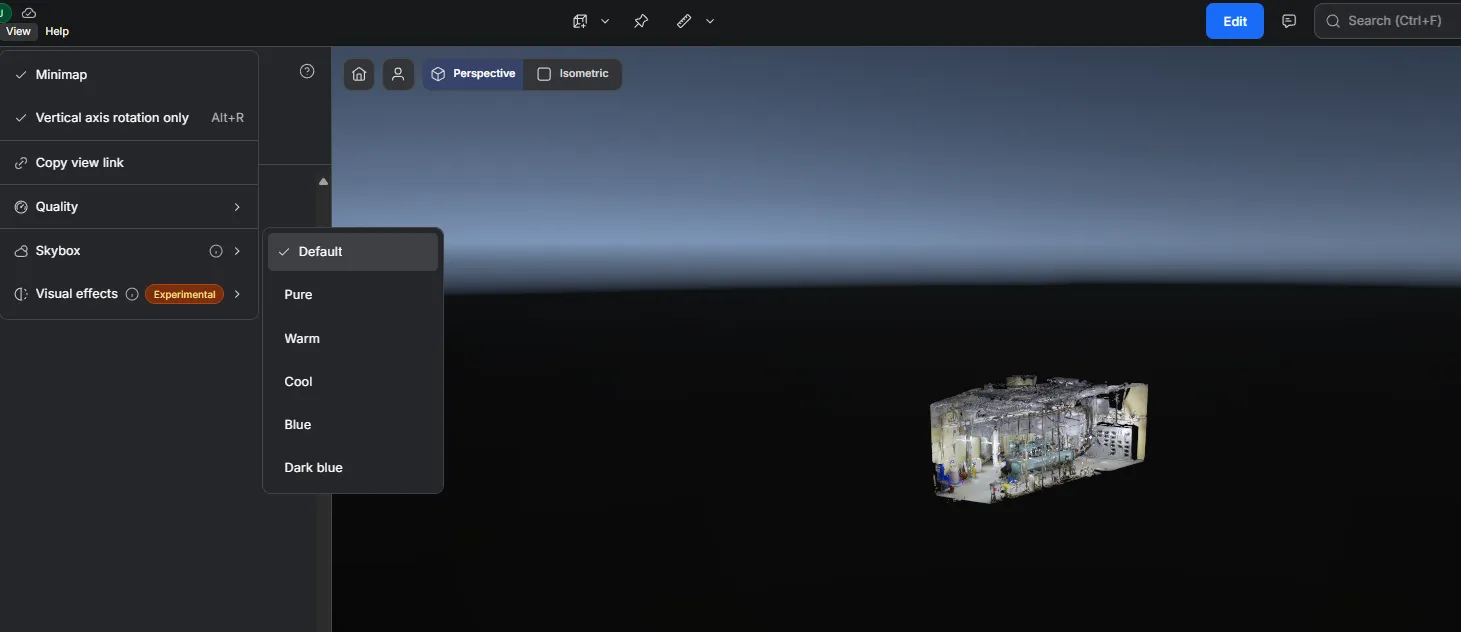
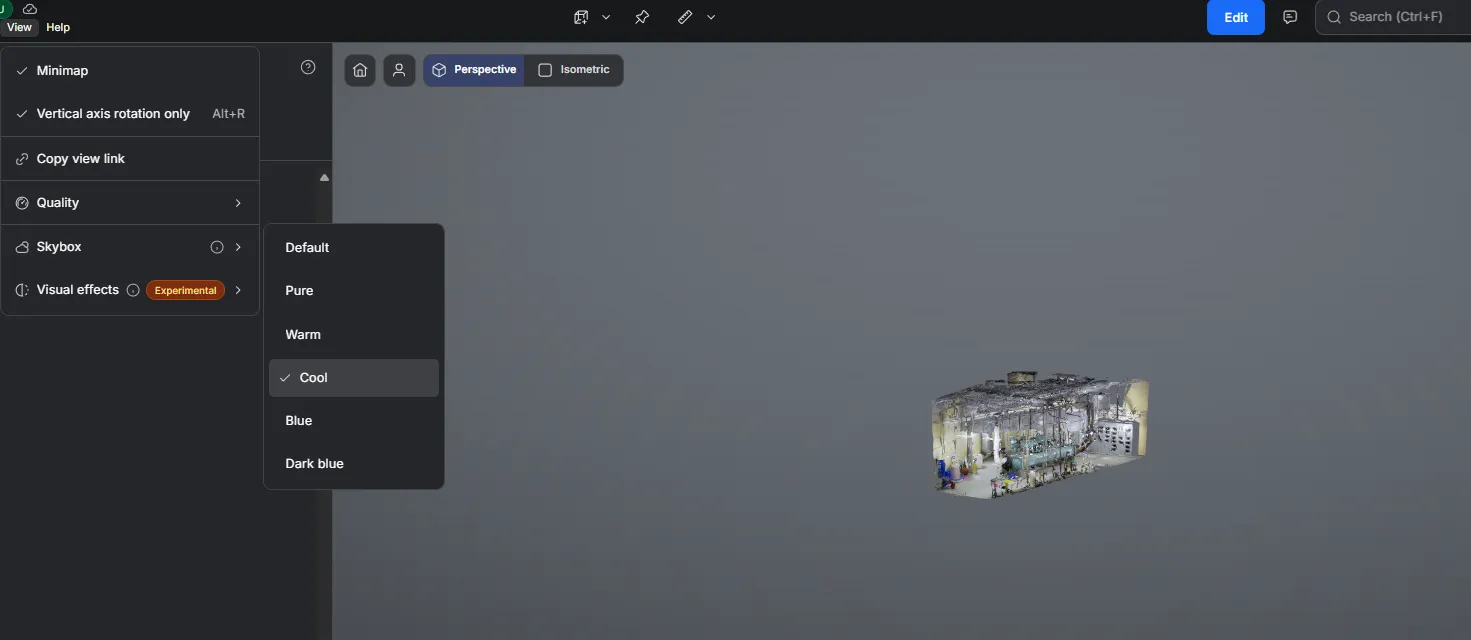
Section titled “Skybox”The skybox is the environment background drawn behind a space. Pick one from View → Skybox: Default, Pure, Warm, Cool, Blue, or Dark blue.
A lighter skybox helps when a dark background hides a pale model, or when you want a neutral backdrop for a screenshot going into a report.
Clipping box
Section titled “Clipping box”A clipping box hides everything outside a box you place in the 3D scene, so you can see inside a structure without hiding layers or entities one by one.
Open the View menu and select Clip environment. The entry carries its current state under the label — Disabled until a cut is in place — so you can tell at a glance whether the space is clipped.
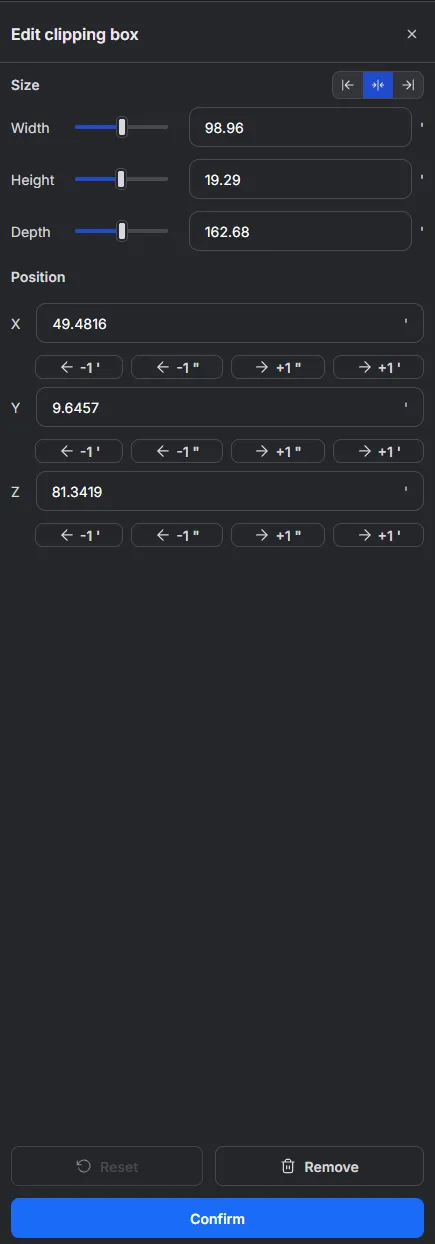
The box appears around the space with a move and rotate handle at its centre, and the Edit clipping box panel opens on the right. Shape it either way:
- Drag the handles in the viewport to move and rotate the box.
- Use the panel: Width, Height, and Depth under Size, and X, Y, and Z under Position. Type a value, drag a slider, or step a position with the arrow buttons on either side of it.
Reset puts the box back to how it started and is greyed out while the box still spans the whole space, Remove deletes the box, and Confirm applies the cut.
Once a clip is active, a Clipping active badge appears next to the navigation modes. Click the badge to reopen the box for editing, where it reads Editing clipping box instead.


Once a box exists, selecting Clip environment again switches the cut off. The whole space comes back and the box is kept, so selecting it once more restores the same cut.
Tool settings
Section titled “Tool settings”The Tool menu sits next to View and gathers the settings that constrain how you manipulate what a space contains.
| Setting | What it does |
|---|---|
| Vertical axis rotation only | Restricts rotation handles to the vertical axis (Alt+R). Greyed out while the scene shows no handle to constrain. |