Merge Layout from RealityPlan
Merge Layout closes the loop between RealityPlan and RealityTwin. After designing a layout in RealityPlan, including imported 3D models, primitives, and environment cuts, you can pull those changes into a Draft, review what was added, modified, or removed, and publish them so your Twin stays the single source of truth.
When to Use Merge Layout
Section titled “When to Use Merge Layout”Teams often plan and design across multiple RealityPlan projects. Merge Layout lets you consolidate that design intent back into the Twin, so the live model reflects the latest real-world or planned state. The end-to-end workflow is:
RealityTwin → RealityPlan → Layout → Twin Draft → Merge Layout → Publish Twin
You can bring changes from a single layout, or combine changes from multiple layouts into the same draft before publishing.
1. Author the Layout in RealityPlan
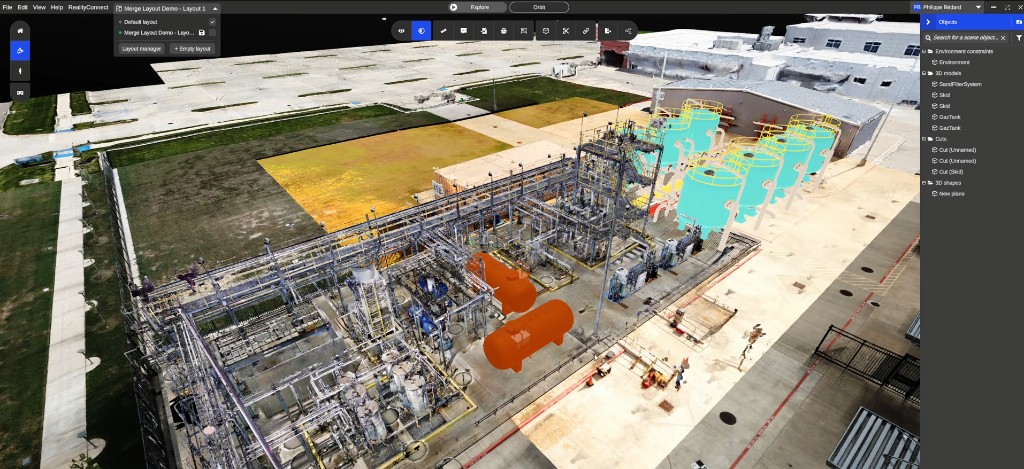
Section titled “1. Author the Layout in RealityPlan”In the RealityPlan desktop application, build your layout as usual. This can include importing 3D models from the Asset Library, adding primitives, and performing environment cuts.
2. Publish the Layout to the Web
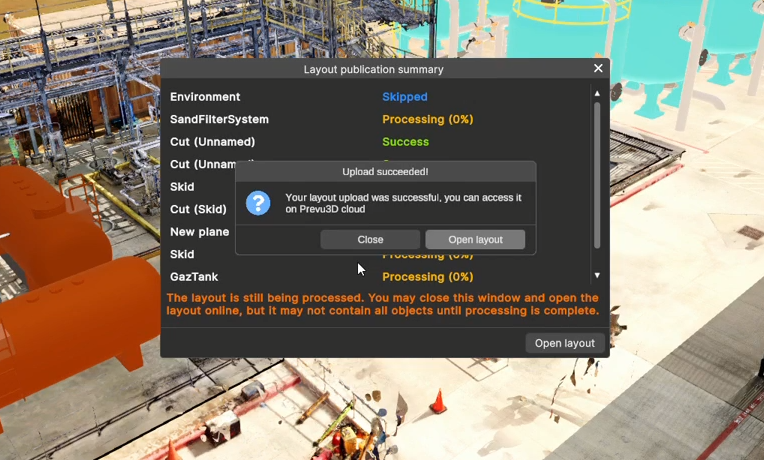
Section titled “2. Publish the Layout to the Web”Publish the layout so it becomes available online. During this step, you may see a Layout publication summary with a Processing status while 3D models are optimized to run smoothly in the web viewer. You can close the window and continue, models will appear once processing is complete.
3. Open a Draft and Find the RealityPlan Tool
Section titled “3. Open a Draft and Find the RealityPlan Tool”Open your Twin and enter Draft Mode. Two tools become available in the left side panel that are only visible while in a draft:
- RealityPlan updates — browse and merge changes from RealityPlan layouts.
- Publish Review — review and publish the draft to the live Twin.
![]()
4. Browse to the Project and Layout
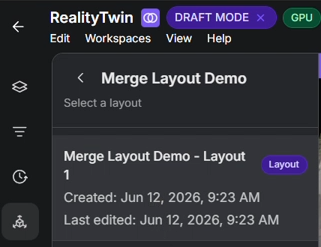
Section titled “4. Browse to the Project and Layout”Open the RealityPlan updates tool to see a searchable list of RealityPlan projects, each showing its name, creation date, and last-edited date. Select a project to see its layouts, then select the layout you want to merge.
5. Review and Select the Changes
Section titled “5. Review and Select the Changes”Once a layout is selected, every object that differs from the current published Twin is listed with a change-status badge:
- Added — objects created in the layout that do not yet exist in the Twin.
- Modified — objects that already exist in the Twin and were edited.
- Removed — objects deleted in the layout.
All items are selected by default. You can bulk-import every change, or use the checkboxes to select only the ones you want. You can also repeat this process for additional layouts to combine changes from several layouts into the same draft.

Supported objects include RealityAssets, Points of Interest, primitives and their materials, and 3D models from the Asset Library.
6. Preview the Changes in the Viewer
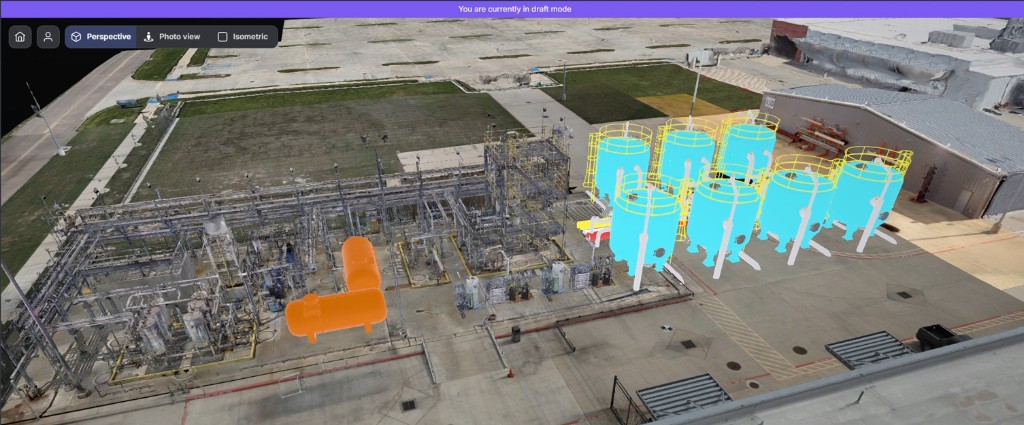
Section titled “6. Preview the Changes in the Viewer”Merged objects appear directly in the Twin viewer while you remain in Draft Mode, so you can verify placement and appearance before publishing. Other users continue to see the live Twin until you publish.
7. Review and Publish
Section titled “7. Review and Publish”When you are ready, select Review and publish in the draft toolbar.

The Publish changes to RealityTwin window opens, listing every change you are about to publish with its status badge. This is your final revision step, confirm or deselect items, then publish.
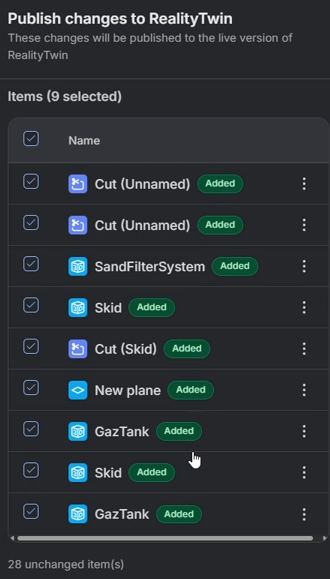
Once published, your changes go live for everyone, keeping your Twin up to date.
Alternative: Rescan and RealityComposer
Section titled “Alternative: Rescan and RealityComposer”Merging a layout is one way to keep your Twin current. Alternatively, you can partially rescan an area that changed and bring the new data into your Twin using the RealityComposer tools.